
Adding a table to your WordPress site is simple with the TablePress plugin, allowing you to create and manage tables without any coding. This plugin provides an easy way to present data in a structured format, enhancing user experience. For those using WordPress development services, TablePress is an excellent tool for managing content efficiently. A WordPress development company can assist in optimizing the plugin for your site’s design and functionality. Follow these steps to quickly add and customize tables using TablePress.
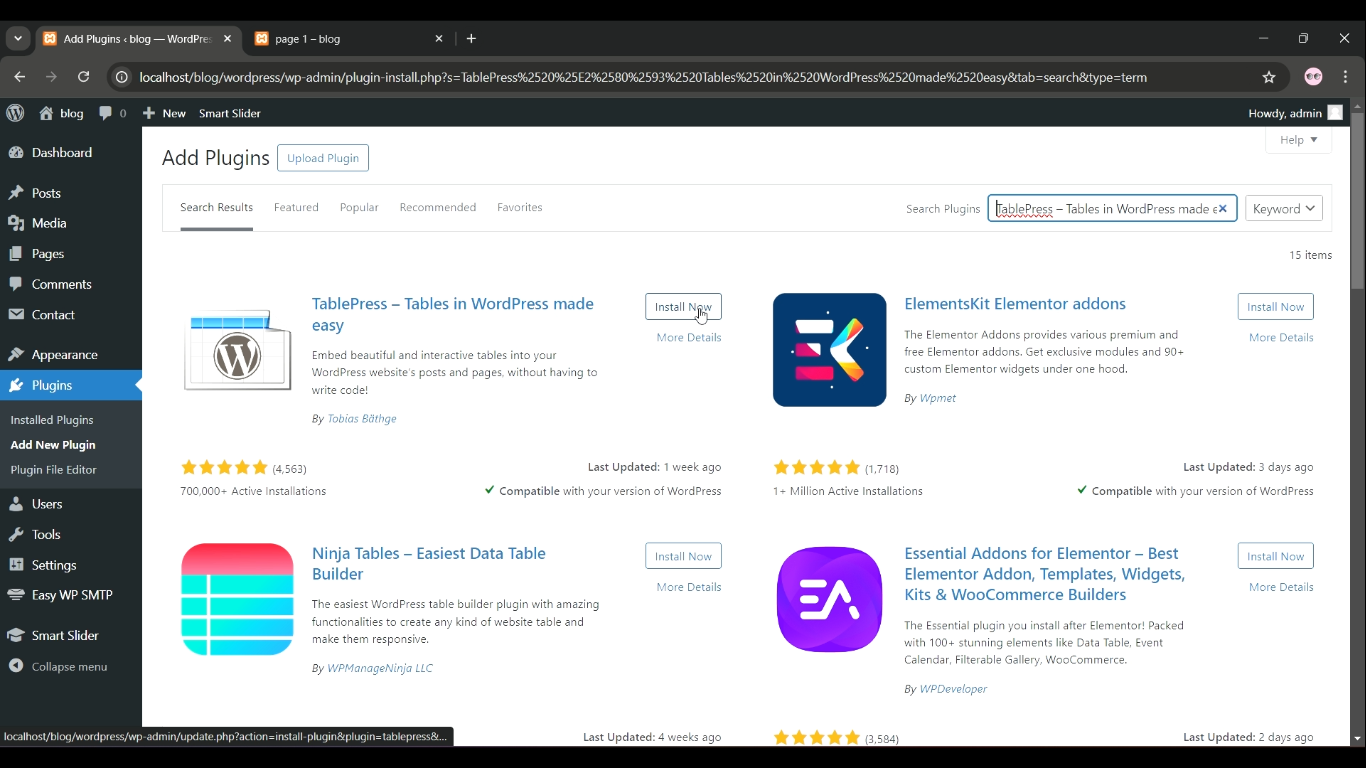
Install and Activate PDF Embedder
- Go to Plugins > Add New in WordPress, search for “PDF Embedder”, install and activate the plugin.
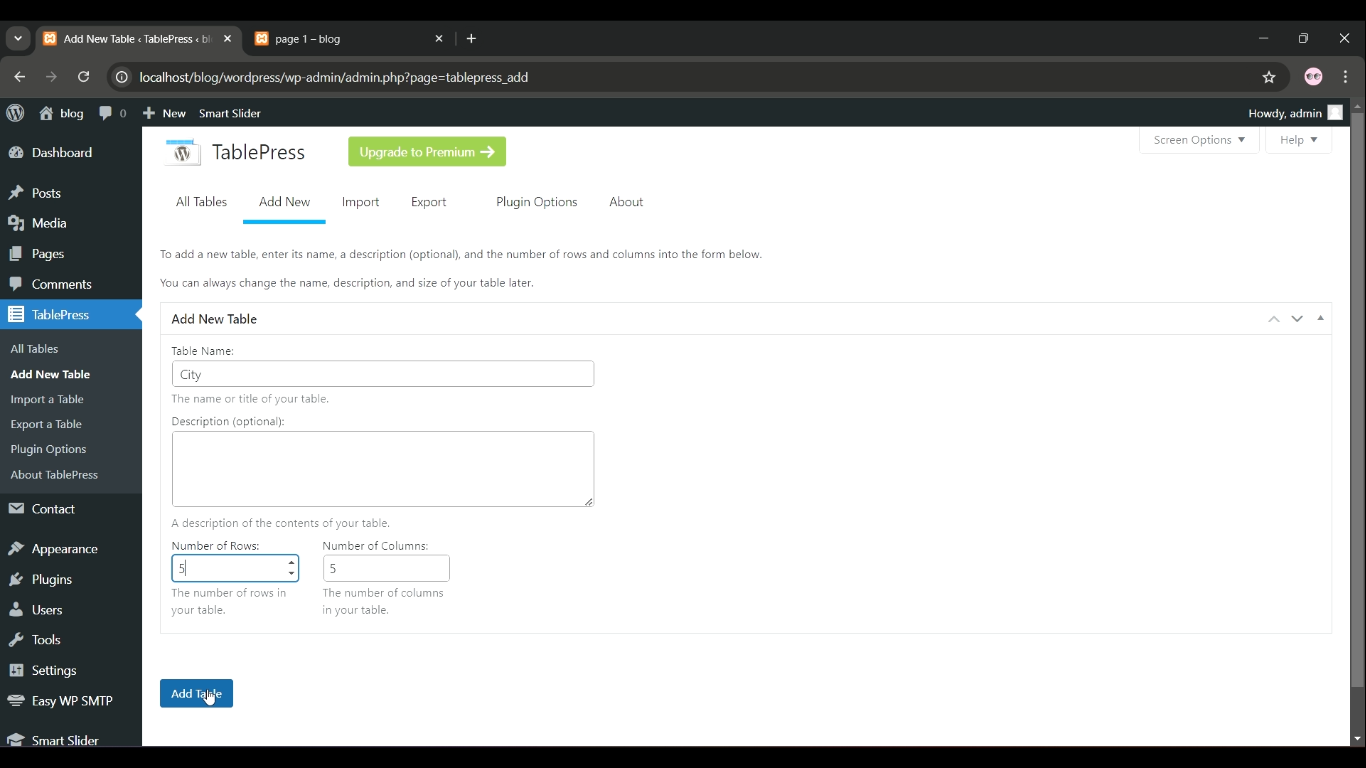
Create a New Table
- Go to TablePress > Add New.
- Set the number of rows and columns, then click Add Table.
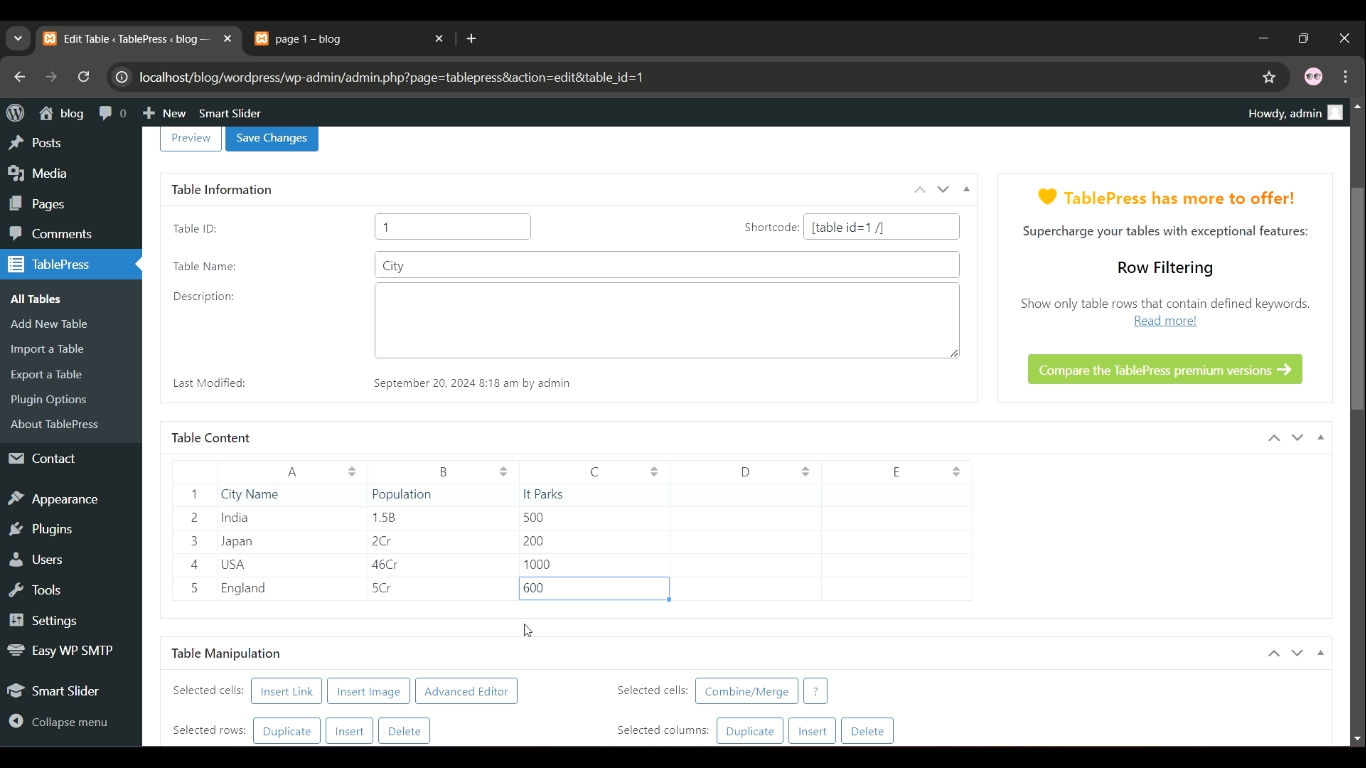
Enter Table Content
- Enter your data into the table cells and customize the table as needed.
- Click Save Changes.
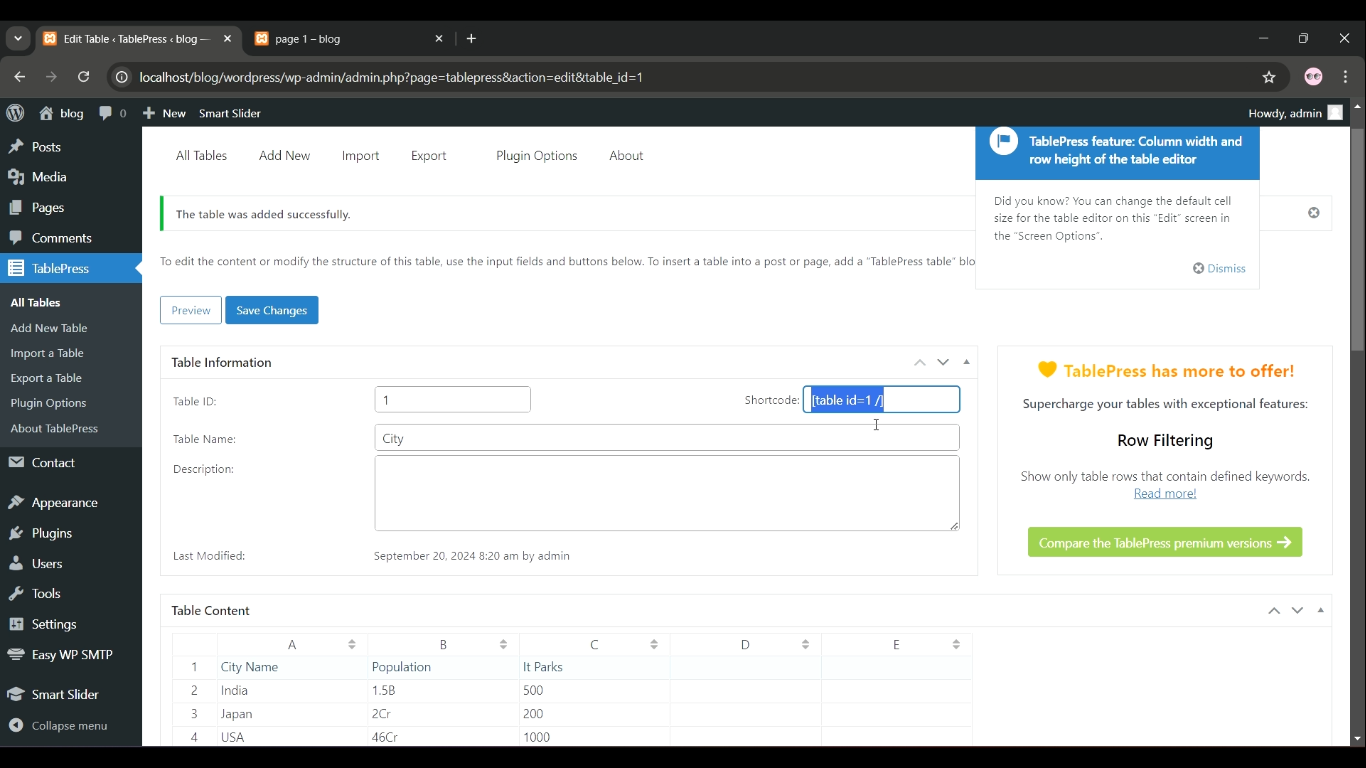
Copy the Shortcode
- After saving, copy the generated shortcode (e.g., [table id=1 /]).
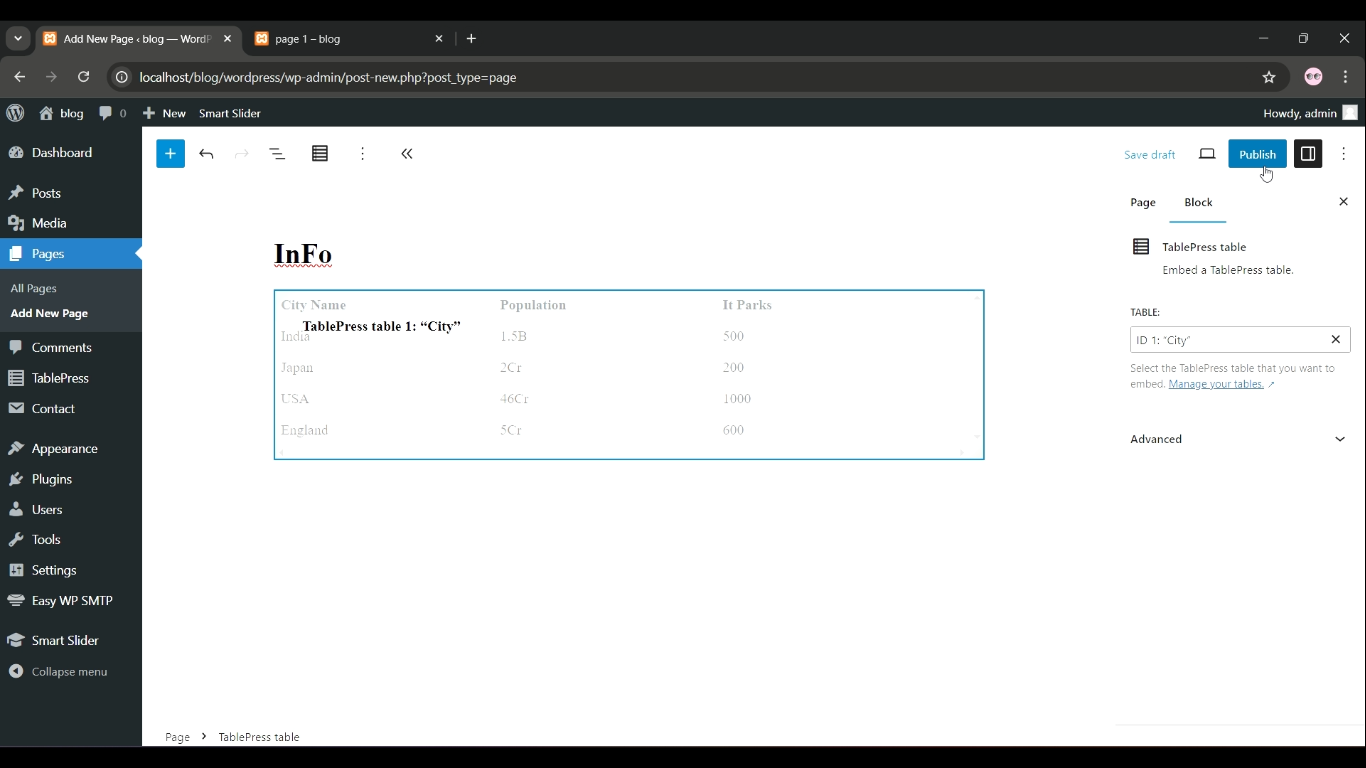
Insert the Shortcode in a Post/Page
- Paste the shortcode in the content editor where you want the table to appear.
- Click Publish/Update to display the table on your site.