Introduction
Adding social media icons and links to your WordPress website is an essential way to connect with your audience and boost engagement. It allows visitors to easily follow and share your content across various platforms, enhancing your online presence. Whether you’re using a plugin or manually adding the icons, the process is straightforward.
Add Social Media Icons and Links
Adding social media icons with links to your profiles can enhance your site’s connectivity. Follow these steps to easily add them in WordPress:
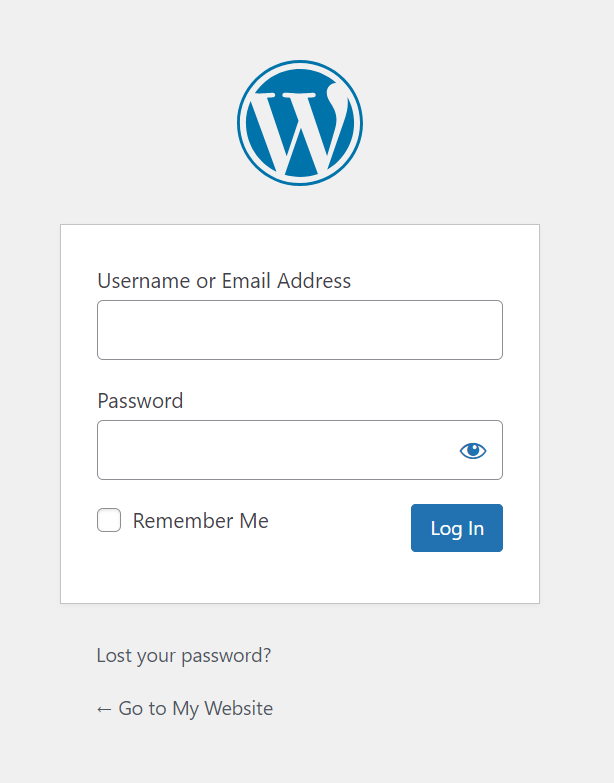
Step 1: Log in to Your WordPress Dashboard
Access your admin panel using your credentials.

Get a closer look – Here’s the feature at work.
Step 2:Go to Appearance > Widgets
From the left-hand menu, click “Appearance” and select “Widgets.”

Get a closer look – Here’s the feature at work.
Step 3:Add a Social Icons Widget
Drag the “Social Icons” widget to your sidebar or footer area.

Get a closer look – Here’s the feature at work.
Step 4:Enter Your Social Media Links
Customize the widget by adding URLs to your social media profiles.

Get a closer look – Here’s the feature at work.
Step 5:Save and Publish
Once you’ve added the links, click “Save” to make the icons appear on your site.

Get a closer look – Here’s the feature at work.


