

Introduction
WordPress is a powerful content management system (CMS) that allows users to easily organize their content. One of the key tools for structuring a WordPress website is the use of categories. Categories help group similar posts, making it easier for visitors to navigate your site and find the content they need. Whether you’re running a blog, news site, or online store, working with a WordPress development company can help you create and manage categories more efficiently. In this guide, we’ll walk you through the steps to create a category in WordPress and share tips to optimize your category structure.
What Are WordPress Categories?
Categories in WordPress are a built-in taxonomy that helps group posts into topics or sections, which benefits both your readers and search engines. For instance, a travel blog might have categories like “Destinations,” “Travel Tips,” and “Gear Reviews.” By partnering with a WordPress development company, you can ensure your categories are well-structured, enhancing both user experience and SEO.
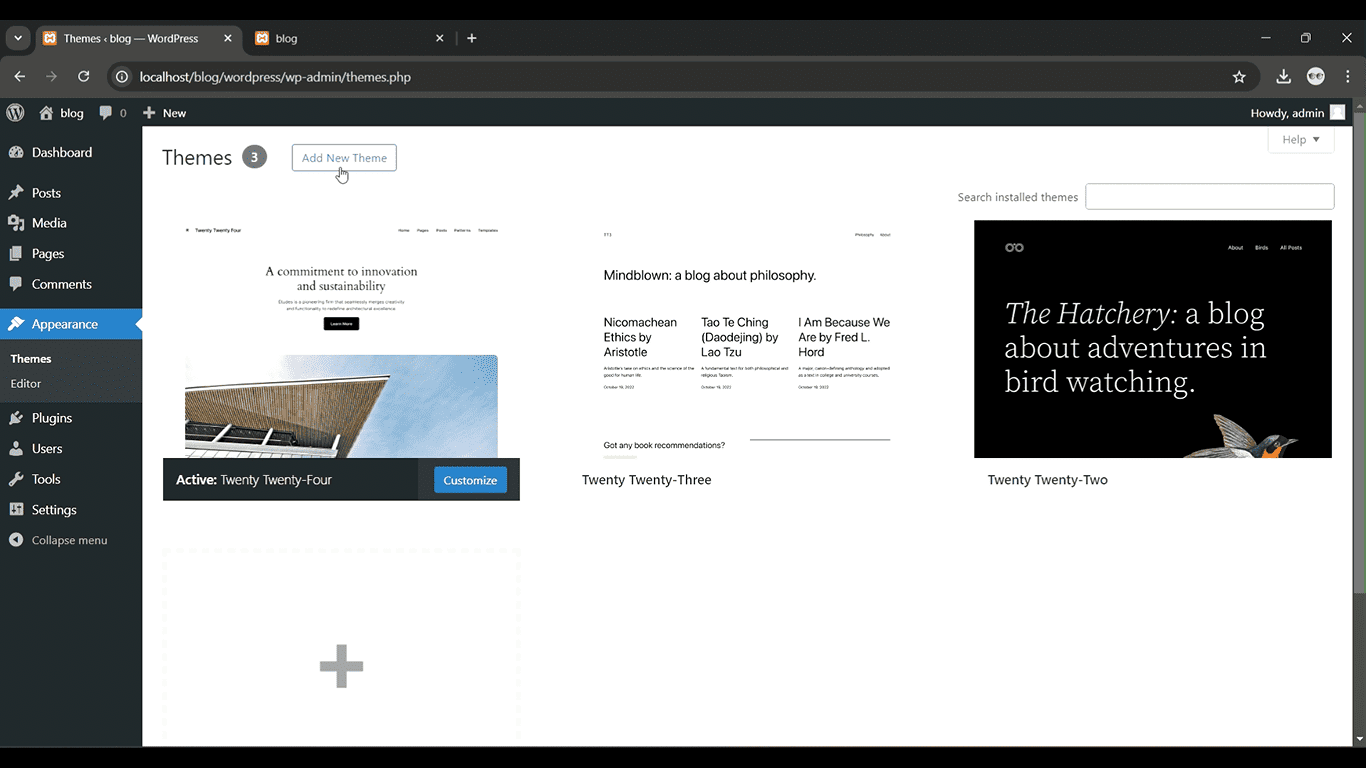
Step 1:Log in to Your WordPress Dashboard
Access your WordPress admin panel using your credentials.
Get a closer look – Here’s the feature at work.
Step 2: Go to Posts > Categories
From the left-hand menu, click on “Posts” and then select “Categories.”

Get a closer look – Here’s the feature at work.
Step 3:Add a New Category Name
Enter the category name in the “Name” field and, if needed, set a parent category.

Get a closer look – Here’s the feature at work.
Step 4: Add a Slug (Optional)
Enter a URL-friendly slug, or leave it to auto-generate from the category name.
Get a closer look – Here’s the feature at work.
Step 5: Click Add New Category
Click the “Add New Category” button to save it.

Get a closer look – Here’s the feature at work.


