Introduction
Creating a column layout in WordPress using Elementor is a great way to improve your site’s design and make it more user-friendly. Elementor’s drag-and-drop builder makes it easy to arrange content into columns without coding. This guide will show you how to set up a simple column layout. If you need advanced customization, hiring a WordPress development company can ensure everything works smoothly.
Expert WordPress Development Solutions
Elevate your website with our expertise.

Create a Column Layout
Creating a column layout can make your WordPress pages look professional and organized. Follow these steps to create a column layout using the Elementor Website Builder plugin:
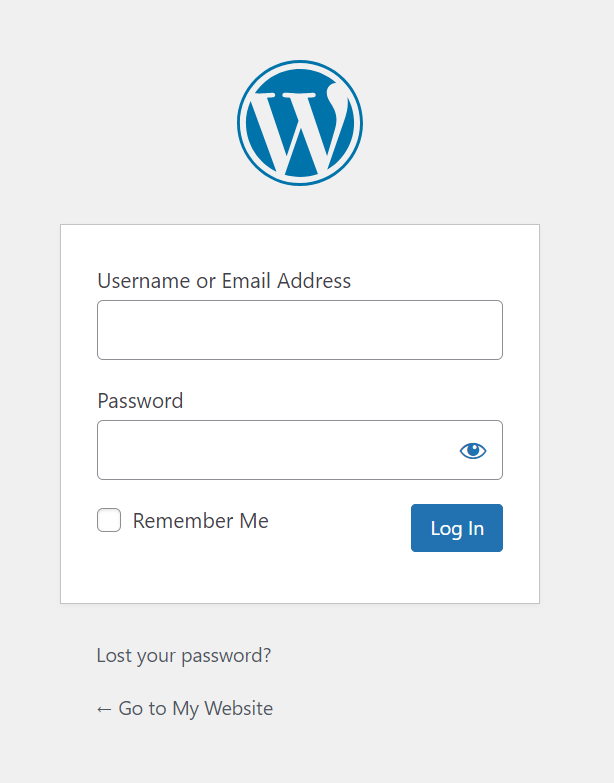
Step 1: Log in to Your WordPress Dashboard
Use your credentials to access the admin panel.

Get a closer look – Here’s the feature at work.
Step 2:Install and Activate Elementor
Go to Plugins > Add New, search for “Elementor Website Builder,” then install and activate the plugin.

Get a closer look – Here’s the feature at work.
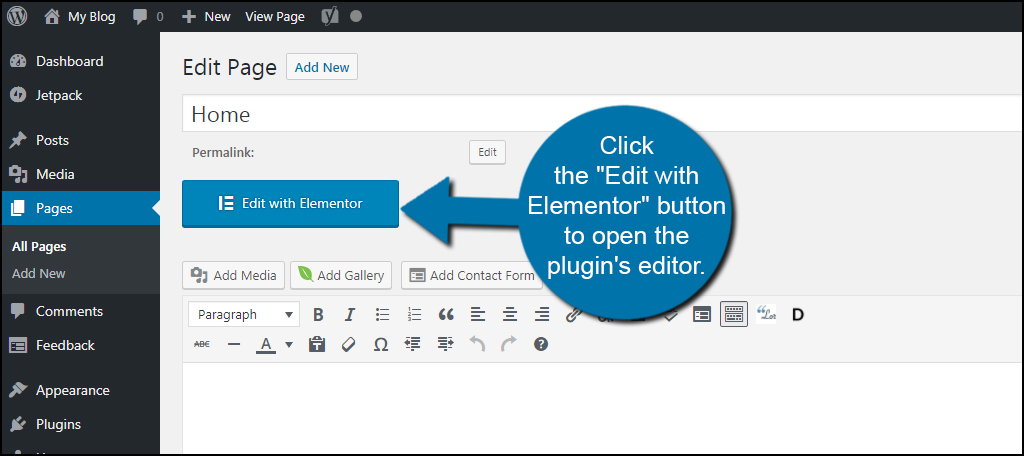
Step 3:Edit a Page with Elementor
Open the page you want to edit and click the Edit with Elementor button.

Get a closer look – Here’s the feature at work.
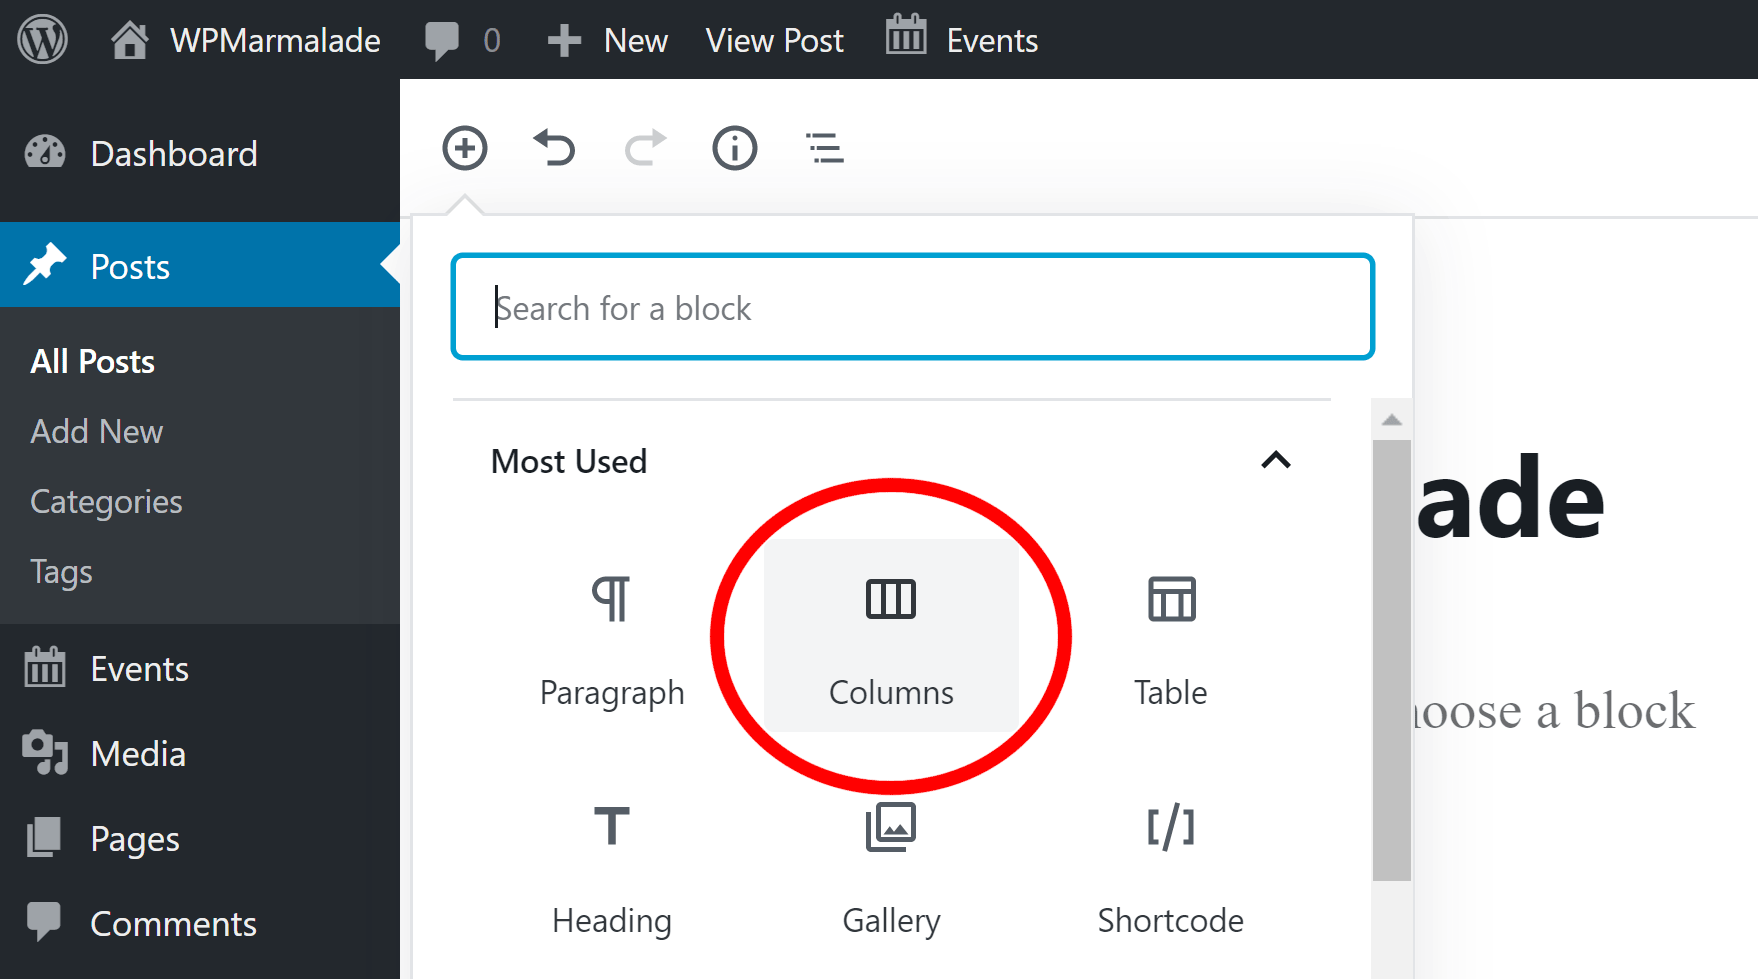
Step 4:Add a Section with Columns
In the Elementor editor, click the + icon, choose the number of columns you want, and drag widgets (text, images, etc.) into the columns.

Get a closer look – Here’s the feature at work.
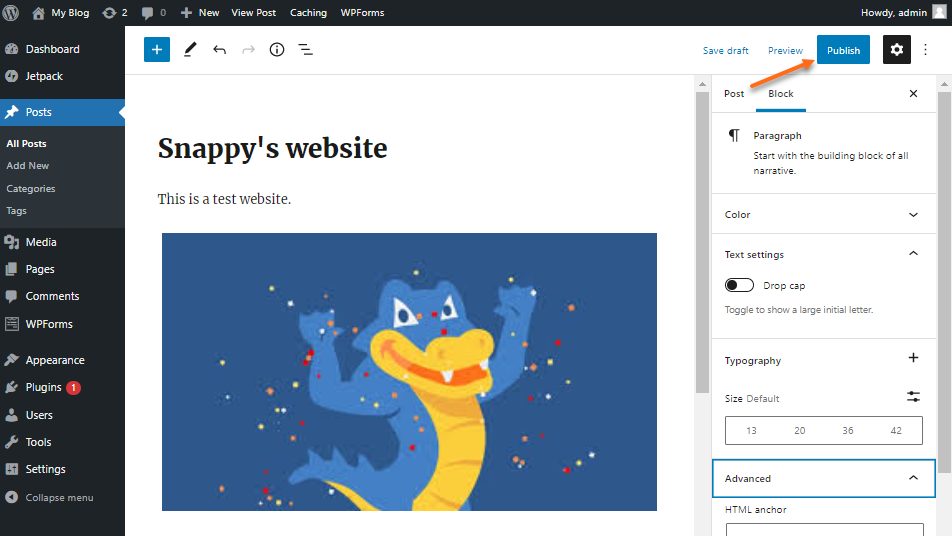
Step 5:Customize and Publish
Adjust the column widths and settings, then click Publish to make the changes live.

Get a closer look – Here’s the feature at work.

Conclusion
Building a column layout with Elementor enhances your site’s look and functionality. For more complex layouts, using WordPress development services can provide a polished result. If you’re looking for expert help, it’s a good idea to hire a WordPress developer to make sure your site is both functional and visually appealing.


