

Introduction
WordPress is one of the most popular content management systems (CMS) in the world, known for its flexibility and ease of use. One of the standout features of WordPress is its ability to let users customize their site’s appearance through themes. Whether you’re managing a personal blog or an eCommerce store, choosing the right theme can significantly enhance the user experience and elevate your site’s visual appeal. In this guide, brought to you by a leading WordPress development company, we’ll walk you through how to install a theme in WordPress, step by step.
Why Choosing the Right Theme is Important
Before diving into the installation process, it’s essential to understand the importance of selecting a theme that meets your site’s needs. A well-chosen theme not only looks great but also impacts your site’s speed, SEO performance, and mobile responsiveness.
Step 1: Log in to Your WordPress Dashboard
Access your WordPress admin panel with your login credentials.
Get a closer look – Here’s the feature at work.
Step 2: Go to Appearance > Themes
From the left-hand menu, click on “Appearance” and then select “Themes.
Get a closer look – Here’s the feature at work.
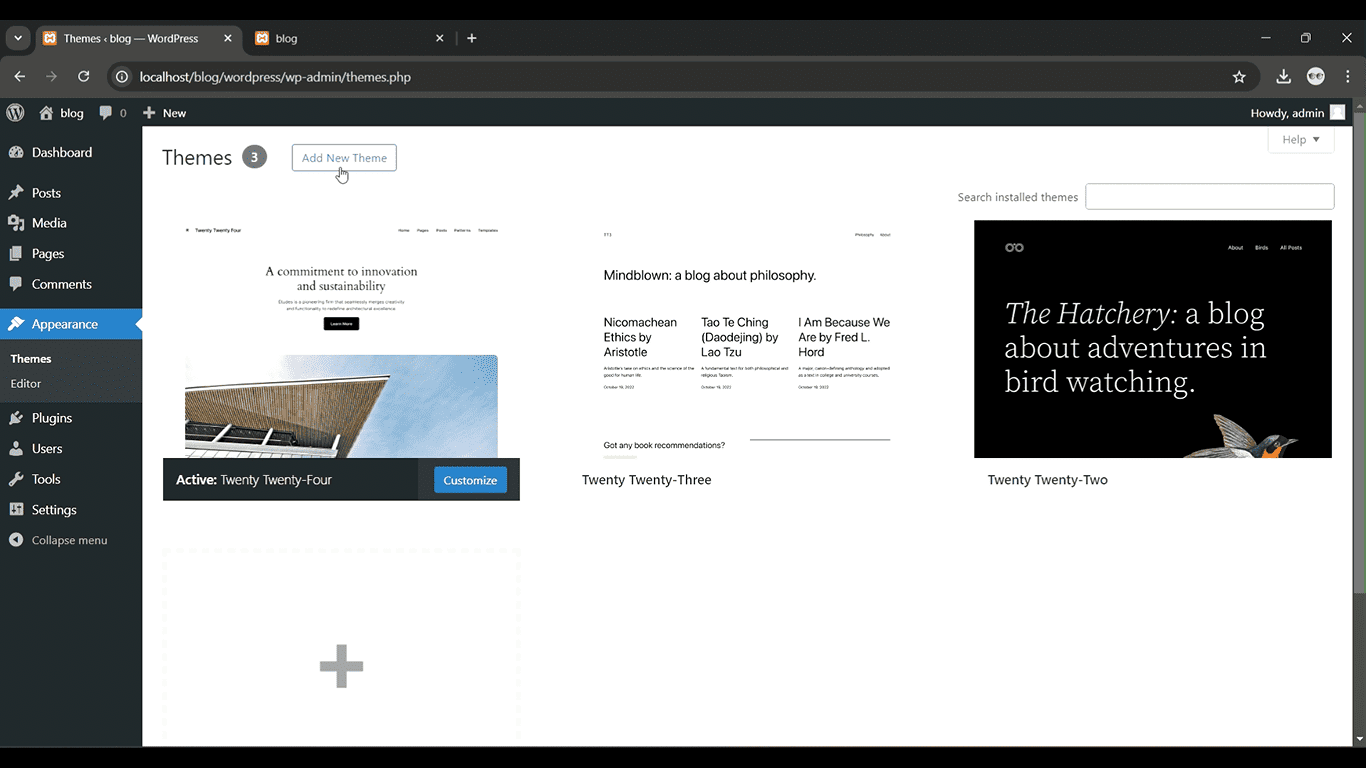
Step 3: Click Add New
At the top of the Themes page, click the “Add New” button to browse themes.
Get a closer look – Here’s the feature at work.
Step 4: Search or Upload a Theme
Use the search bar to find a theme or click “Upload Theme” if you have a theme file in .zip format.
Get a closer look – Here’s the feature at work.
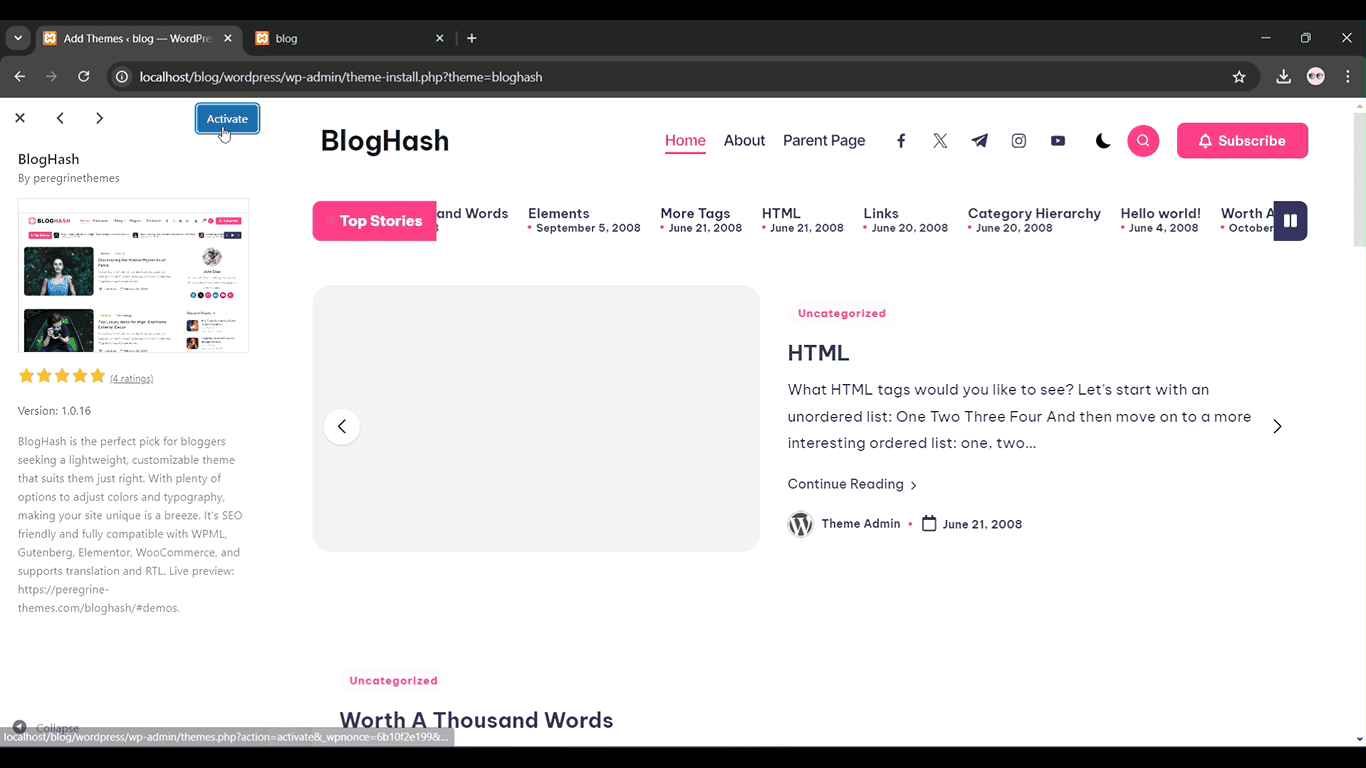
Step 5: Install and Activate
Once you find your theme, click “Install” and then “Activate” to apply it to your website.
Get a closer look – Here’s the feature at work.


