Introduction
Adding a background image to a webpage or application enhances its visual appeal and user experience. Whether it’s for aesthetic design or setting a tone, background images play a key role in web development. This guide will walk you through the steps to upload a background image easily.
Expert WordPress Development Solutions
Elevate your website with our expertise.

Steps to Upload a Background Image:
1. Click on the Style > Choose an Image
- Navigate to the Style section or settings of the platform you are using.
- Look for the option that allows you to select or upload a background image.

Get a closer look – Here’s the feature at work.
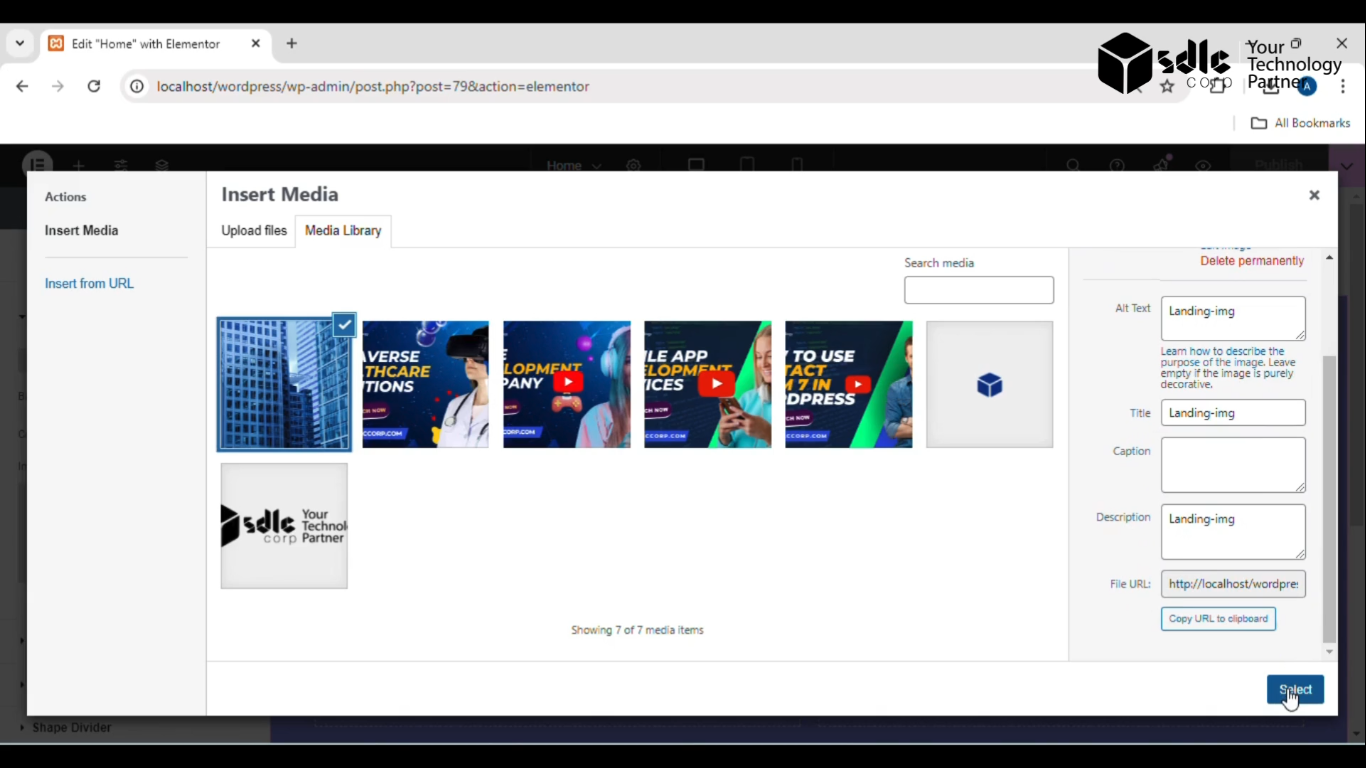
2. Select the Image
- Choose an image from your computer or from available online libraries.
- Make sure the image fits your design requirements and is appropriately sized.

Get a closer look – Here’s the feature at work.
Custom WordPress Development Services
Tailored solutions for your business needs.

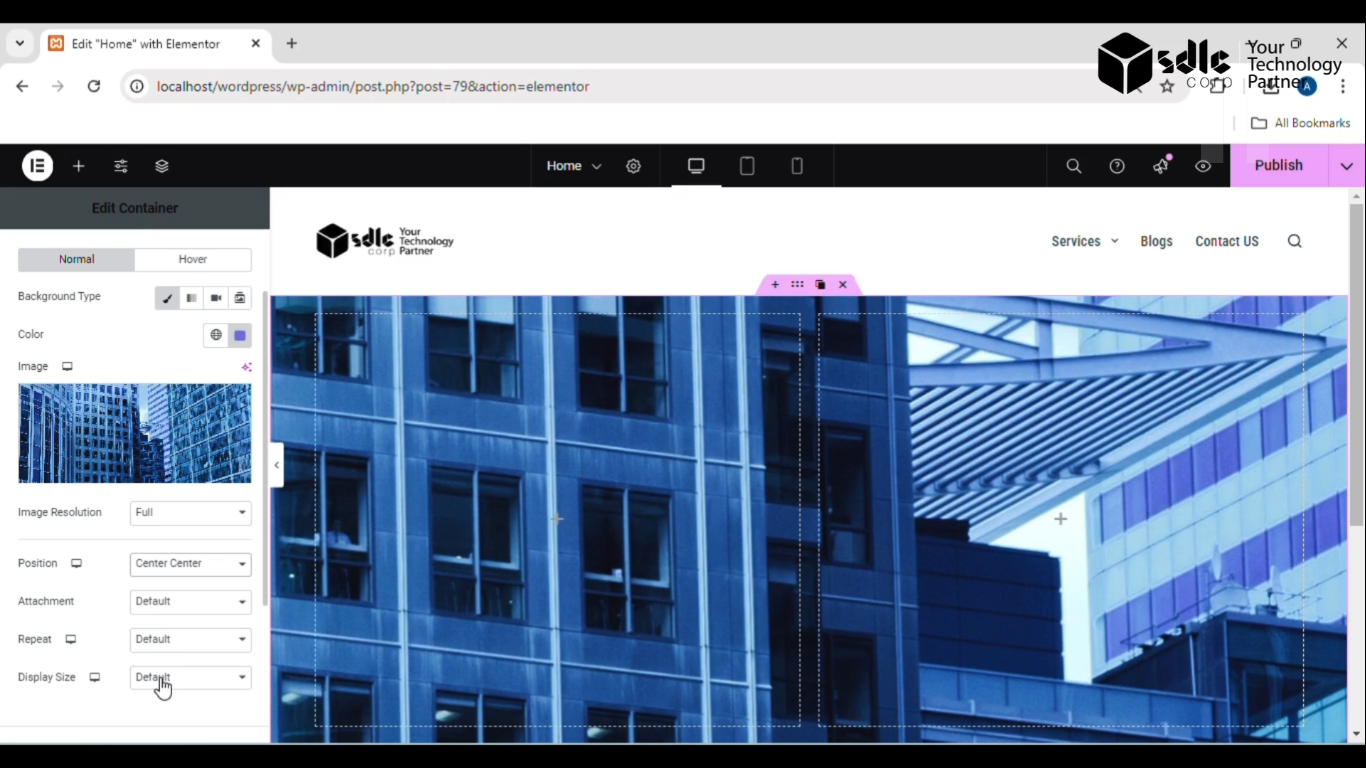
3. Setting for the image Adjustment
- Adjust various settings like image alignment, size (cover, contain), position, and repeat options.
- You can also tweak transparency, blur effects, or add color overlays if required.

Get a closer look – Here’s the feature at work.
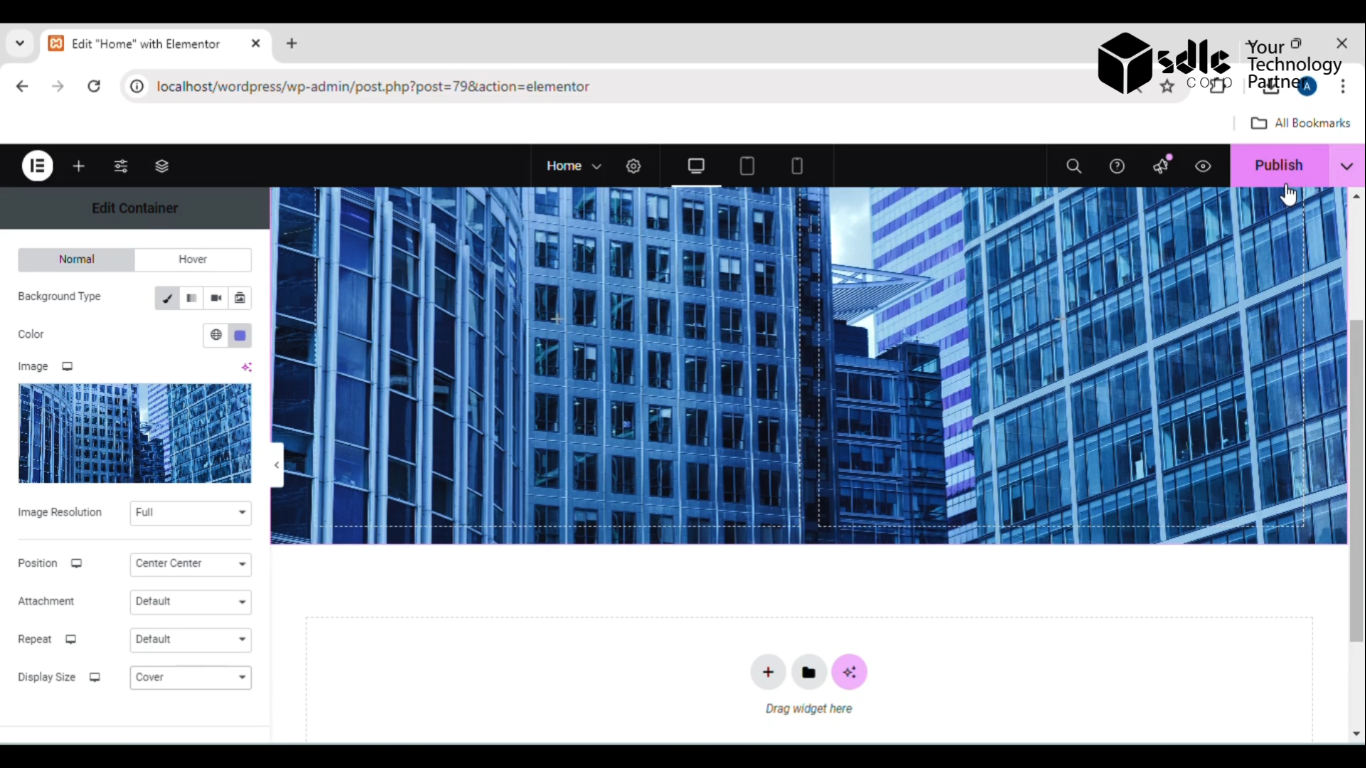
4. Click on the Publish Button
Once the background image and settings are configured to your satisfaction, click the Publish button to save and apply the changes.

Get a closer look – Here’s the feature at work.

Conclusion
Uploading a background image is a straightforward process that can significantly improve the visual appearance of your project. By following these steps—choosing the image, fine-tuning the settings, and publishing—you can create a more engaging and professional look for your webpage or application. Ensure the image aligns with your brand’s tone and performs well across devices for optimal user experience.


