Introduction
Salesforce provides robust and layered security options to ensure that users only access the data they are permitted to see. Among these, record-level security plays a vital role in protecting sensitive information by determining which specific records a user can view, edit, transfer, or delete.
Many Salesforce admins are comfortable setting up roles and profiles, but when it comes to securing individual records, things can get tricky. That’s why mastering record-level security is essential — not only for preventing unauthorized access but also for building a compliant, streamlined, and user-friendly Salesforce environment.
This blog breaks down all the key tools and strategies you need to confidently implement record-level access control — no fluff, no jargon, just clear explanations and practical examples.
1. Why Record-Level Security Is Critical
Every organization, no matter how big or small, handles different types of users and data visibility requirements. Without a secure record-sharing structure:
- Users may access records they shouldn’t
- Sensitive data may leak across departments
- Reports and dashboards may show incorrect or inconsistent data
A well-implemented record-level security model ensures that:
- Data visibility matches the user’s job role
- Confidentiality and compliance requirements are met
- Your org stays scalable and maintainable as it grows
2. Salesforce Record-Level Security: Admin Tools
Salesforce gives admins a full set of point-and-click tools to manage access at the record level:
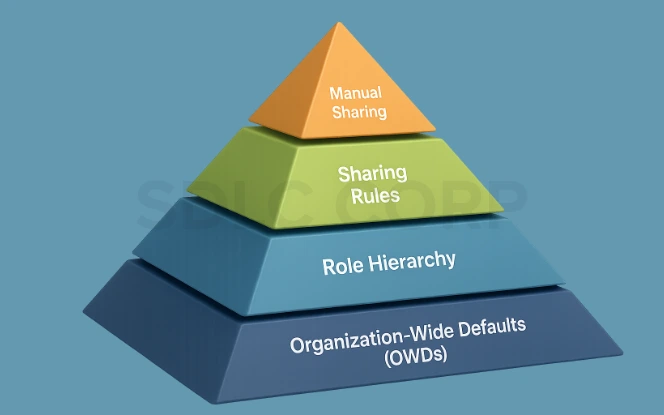
1. Organization-Wide Defaults (OWD)
This is the foundation of your data access model. You set OWDs for each object to determine the most restrictive level of access:
- Private: Users can only see their own records
- Public Read Only: Users can view all records but can only edit their own
- Public Read/Write: All users can view and edit all records
Start with OWD = Private. It’s safer and encourages controlled access using other tools.
2. Role Hierarchy
Role Hierarchies allow users above others in the hierarchy to gain access to their subordinates’ records. For example, a sales manager can see records owned by sales reps reporting to them.
Only use this if the business logic truly demands inherited visibility.
3. Sharing Rules
Sharing Rules open up access to groups of users when OWD is too restrictive. They come in two forms:
- Owner-based: Grant access to records owned by specific roles or groups
- Criteria-based: Grant access to records that meet field-based conditions (e.g., Industry = ‘Healthcare’)
They’re perfect for automating record sharing at scale without writing code.
4. Manual Sharing
Manual Sharing allows users to share individual records with specific users or groups. It’s useful for exception-based scenarios like collaborating on a deal, but it’s not suitable for long-term or large-scale use.
3. Restriction Rules: A Precision Layer
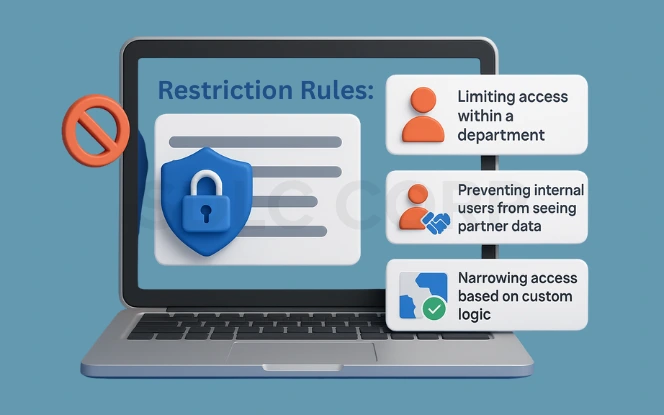
Restriction Rules are a newer Salesforce feature that lets you hide records — even if a user has access through other sharing mechanisms.
They’re great for:- Limiting access to records within a department
- Preventing internal users from seeing partner data
- Narrowing access based on custom logic (e.g., Region = User.Region)
4. Real-World Use Cases
Sales Teams by Region: Set OWD to Private. Use criteria-based sharing to give East Coast reps access only to records with Region = East.
Support Departments: Restrict support agents to see only Cases assigned to their division. Combine Role Hierarchy and Restriction Rules for full control.
External Partners: In an Experience Cloud site, enable Partner Roles. Configure sharing rules so partners only see their related Opportunities or Accounts.
Franchises or Store Networks: Share data based on Store ID or Franchise field using custom logic or public groups
5. Post-Merge Access Checks
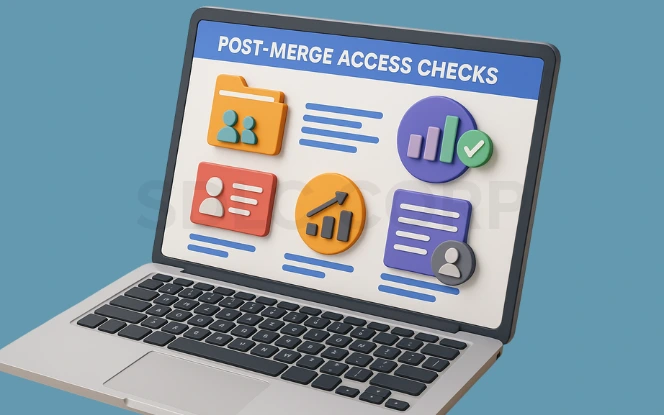
- Ensure related records (Cases, Opportunities) transfer to the master
- Check dashboards and reports based on record IDs
- Confirm access to the new master record is correct
- Enable Field History Tracking to trace key field changes
- Use Setup Audit Trail to monitor admin actions
- Post a Chatter message on the master record summarizing the merge and access validation.
6. Troubleshooting Record-Level Access
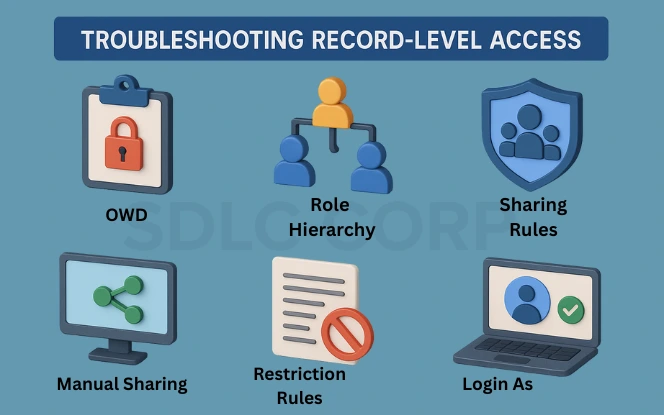
When a user says, “I can’t see the record,” follow this checklist:
- OWD – Start here. Is the object set to Private?
- Role Hierarchy – Is the user above the record owner?
- Sharing Rules – Do they apply to the user’s role/group?
- Manual Shares – Are they still active?
- Restriction Rules – Could they be limiting visibility?
- Login As – Use to simulate the user’s access and verify
- Debug Logs or Field Audit – Helpful if automation is involved
Conclusion
Salesforce Record-Level Security is about more than just restricting access it’s about giving users confidence that their workspace is clean, secure, and tailored to their role. Whether you’re a small business or a global enterprise, implementing these controls smartly will help you scale safely and comply with industry standards.
Set your foundation with OWDs, build logic with sharing rules, and fine-tune with Restriction Rules. Don’t forget to revisit and improve your model regularly. Security is not a one-time setup it’s a continuous process.