
Introduction
WordPress is a popular content management system (CMS) that offers a variety of customization options for your website. One essential feature is adding a logo and favicon, which are key for building your brand identity. A logo visually represents your brand, while a favicon is the small icon that appears next to your website’s title in browser tabs. These elements boost user recognition and add a professional touch to your site.
Step 1:Log in to Your WordPress Dashboard
Access your WordPress admin panel using your credentials.
Get a closer look – Here’s the feature at work.
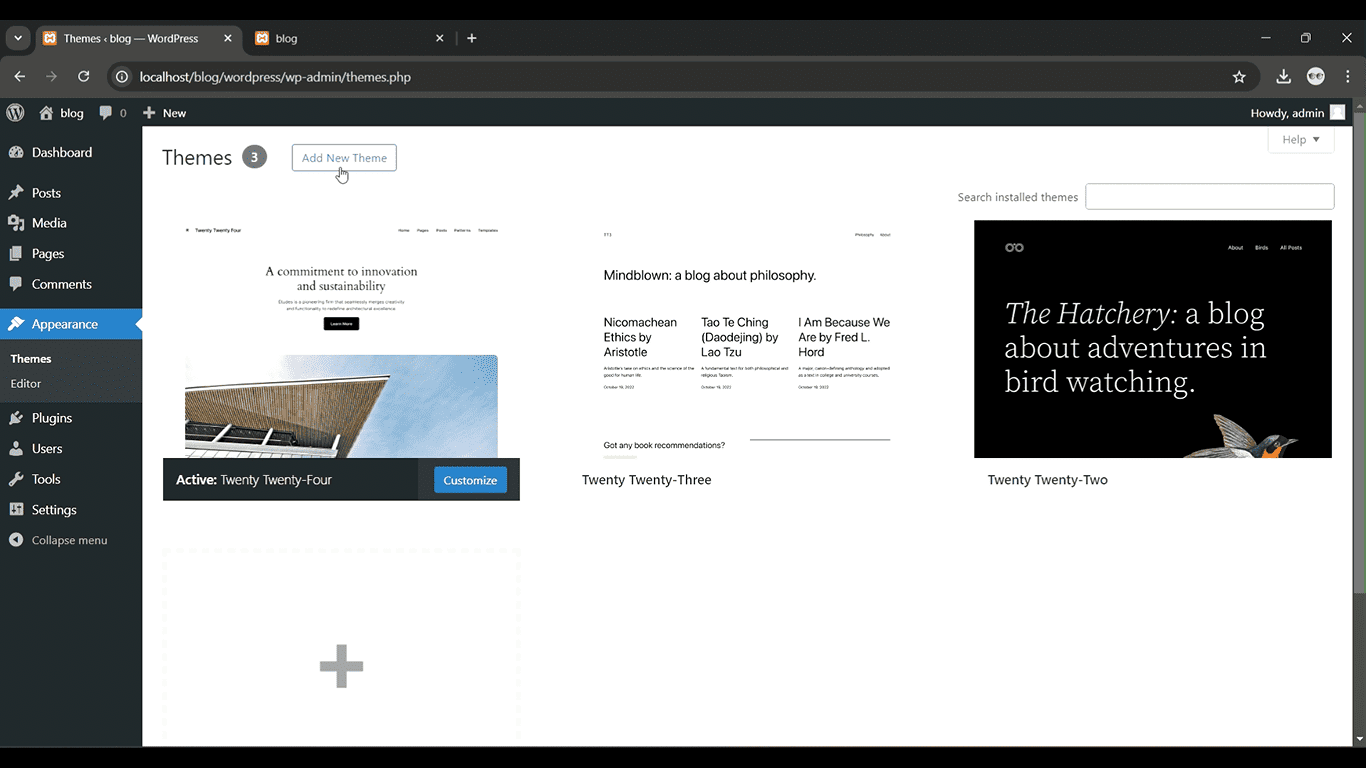
Step 2: Go to Appearance > Customize
In the left-hand menu, click on “Appearance” and then select “Customize.”

Get a closer look – Here’s the feature at work.
Step 3: Click on Site Identity
Inside the Customizer, go to “Site Identity” to upload your logo and favicon

Get a closer look – Here’s the feature at work.
Step 4: Upload Your Logo and Favicon
Select the “Select Logo” and “Select Site Icon” options to upload your files.

Get a closer look – Here’s the feature at work.
Step 5: Publish Your Changes
Click “Publish” to save and apply the logo and favicon to your site.

Get a closer look – Here’s the feature at work.
Conclusion
Adding a logo and favicon in WordPress is a simple process that can greatly enhance your site’s branding and professionalism. Your logo serves as the visual representation of your brand, while the favicon helps make your website easily recognizable in browser tabs. With just a few clicks in the WordPress Customizer, you can give your site a polished, professional appearance.


