
A click-to-call button lets visitors open their phone dialler from your WordPress website. This guide covers the Call Now Button plugin and the checks to make before putting a button in front of customers.
You need permission to install plugins and a phone number your team can answer. Settings can vary by plugin version. Check the official Call Now Button listing for current features and setup details.
Add and Test a Call Now Button in WordPress
1. Sign in to WordPress
Open your WordPress dashboard with an account that can install and configure plugins. Try the setup on staging before changing a live website.
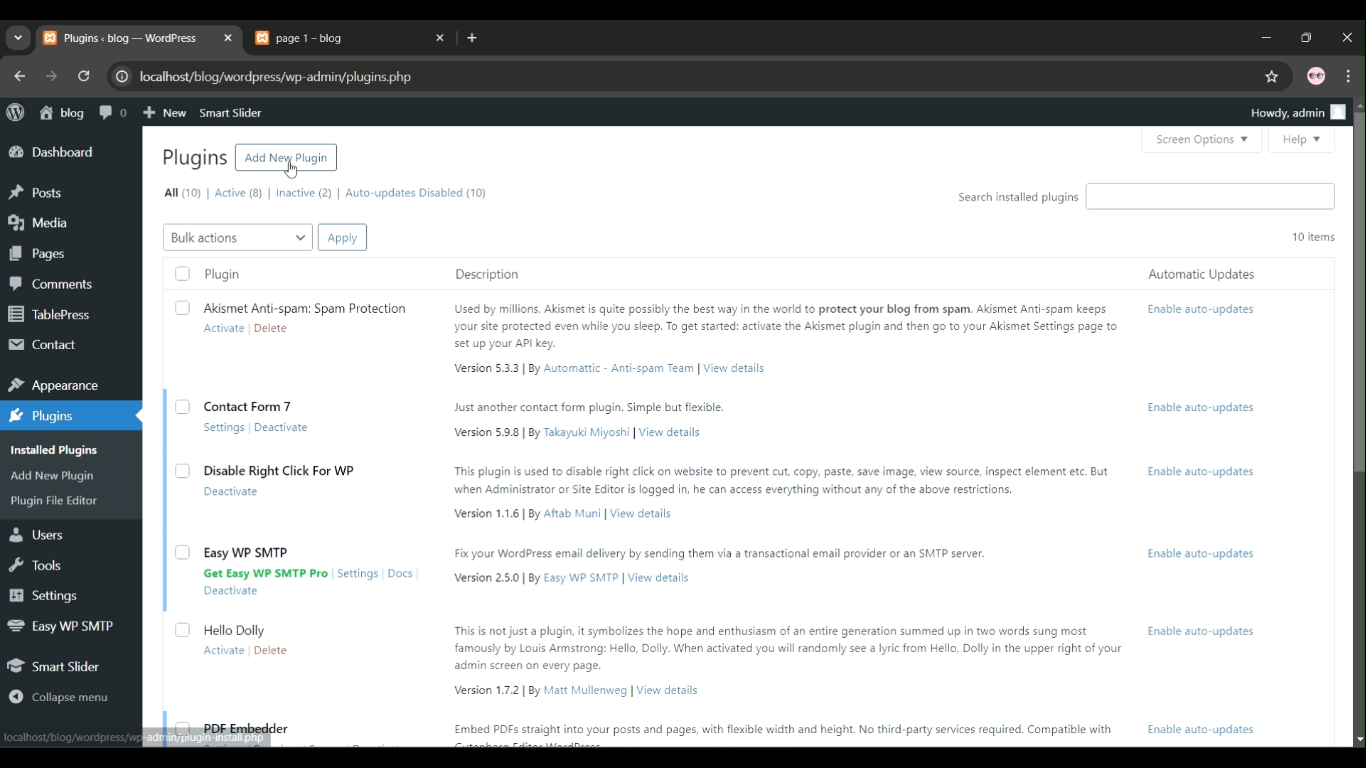
2. Open Plugins > Add New
Use the plugin search to find Call Now Button. Check the publisher, compatibility information and available features before installing it.
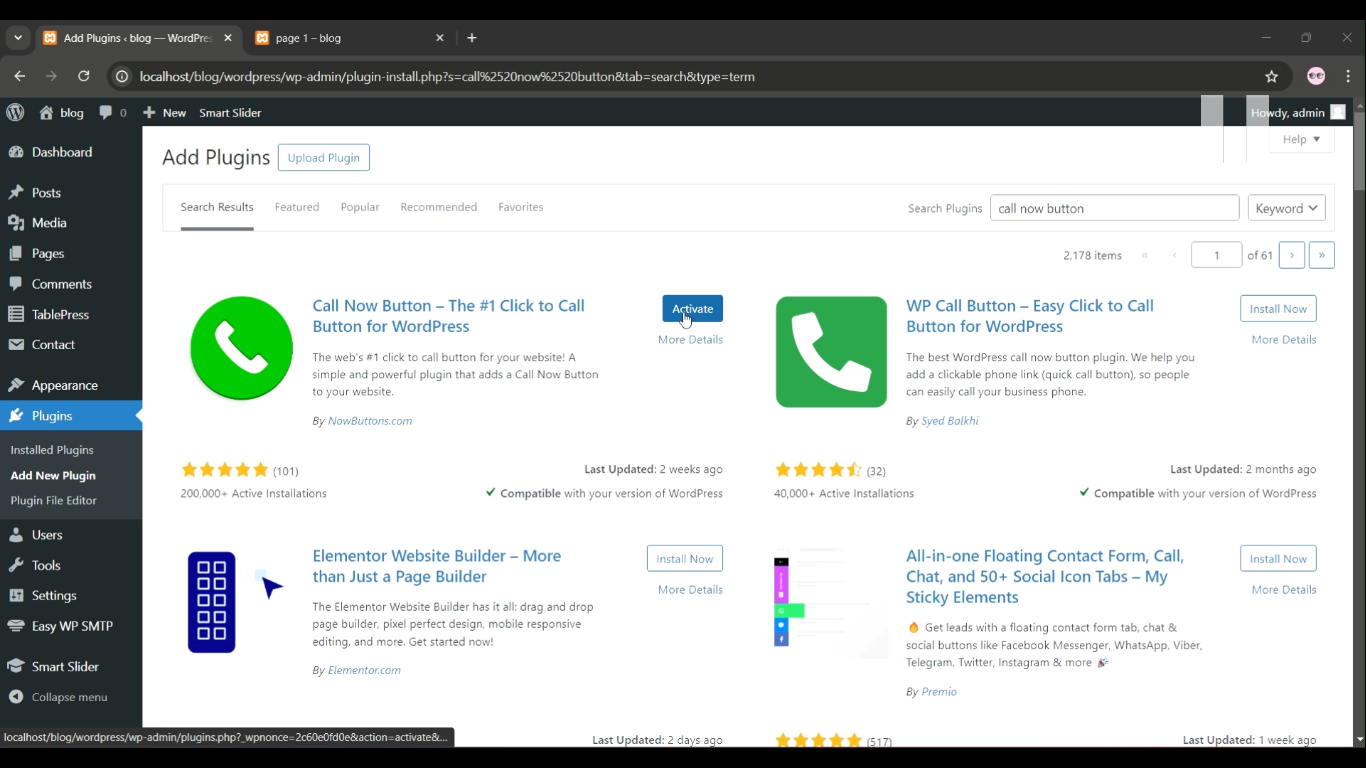
3. Install and activate Call Now Button
Install the intended plugin and activate it. Review any optional service connection or paid features separately; use the configuration appropriate for your requirements.
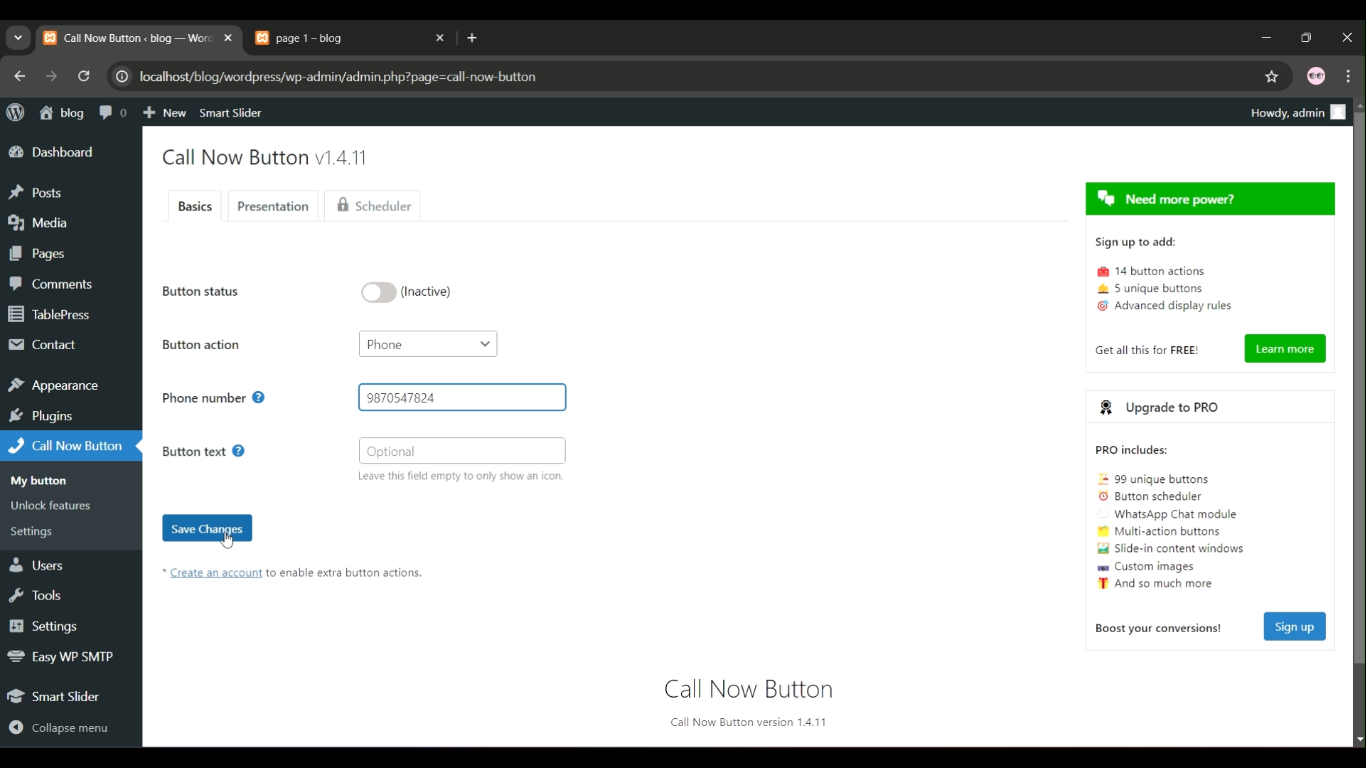
4. Configure the phone number and display
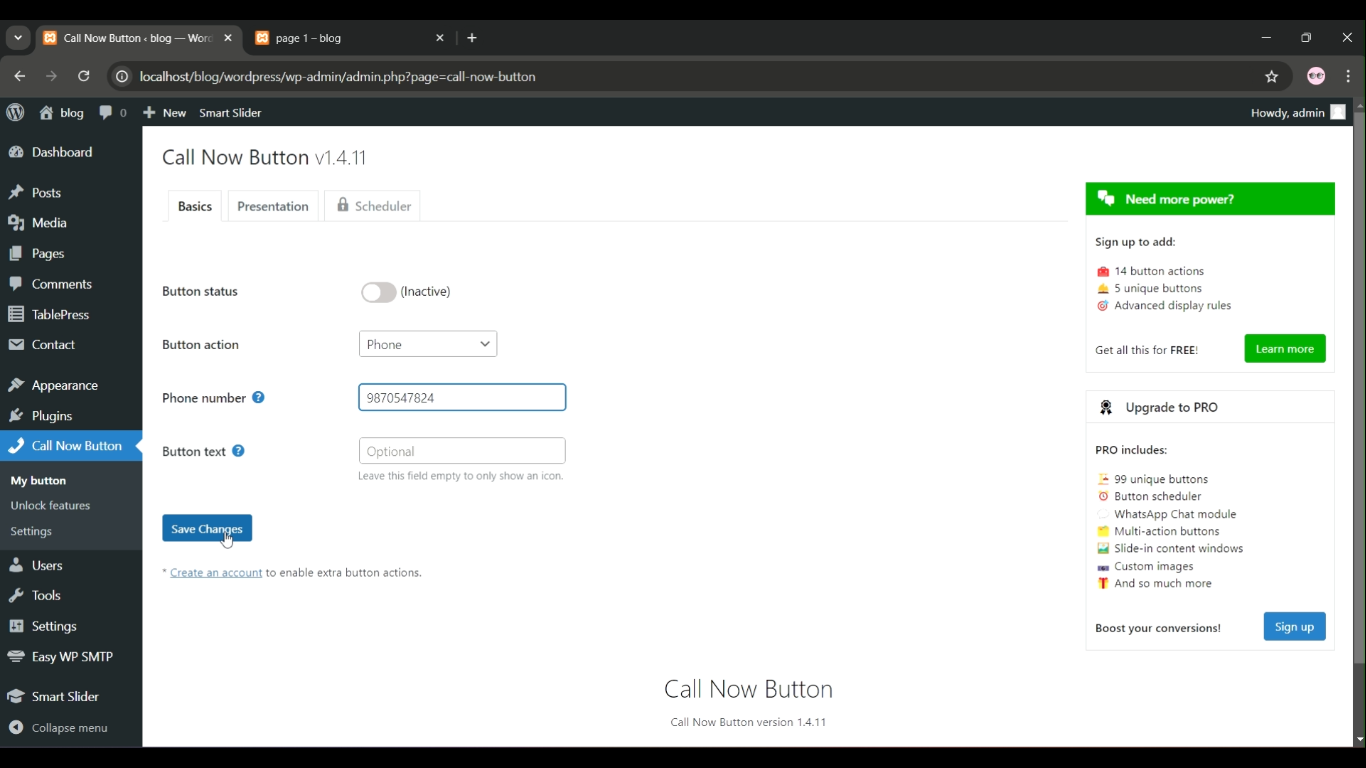
Open the plugin’s settings or setup screen. Enter the destination number, including its country code. Choose a clear label and a position that does not cover navigation, consent controls or important page content.
5. Save and test on a phone
Save and enable the button using the controls available in your version. Visit the page on a real phone and confirm the button opens the dialler with the intended number. Opening the dialler does not establish that a call connected.
Check Mobile Visibility and Call Tracking
If the button is missing, check whether it is enabled, review device and page display settings, and check the page again in a private window. Look for overlap with other floating buttons. If you track button clicks, label them as click events rather than completed calls or qualified enquiries.