Introduction
Adding Google Maps to your WordPress page is a great way to provide visitors with a clear visual of your business location, event venue, or any relevant spot. This feature not only improves the user experience but also boosts credibility by offering easy navigation options. In this guide, we’ll cover simple methods for embedding Google Maps in your WordPress site, whether through direct code, plugins, or the block editor, so you can choose the best approach to match your site’s needs and style.
Expert WordPress Development Solutions
Elevate your website with our expertise.

Steps to Add Google Maps to a WordPress Page:
1. Click on the Page Button
Navigate to your WordPress dashboard and click on the “Pages” option.
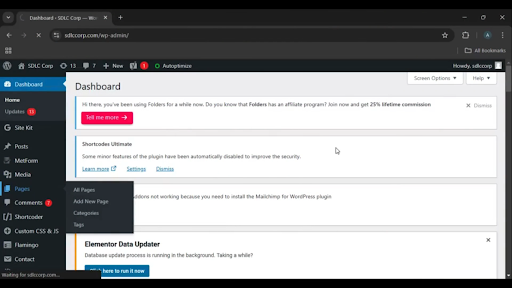
Get a closer look – Here’s the feature at work.
2. Select the Contact Search Page
Locate the “Contact Us” or relevant page where you want to add the map and click on it.
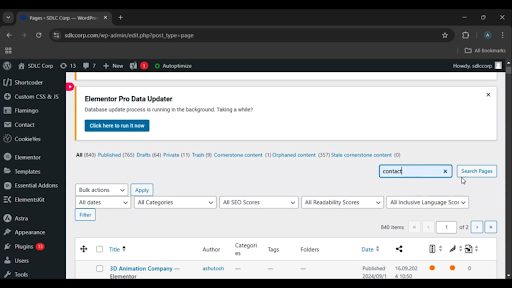
Get a closer look – Here’s the feature at work.
3. Edit with Elementor
Click on the “Edit with Elementor” button to open the Elementor editor for the selected page.
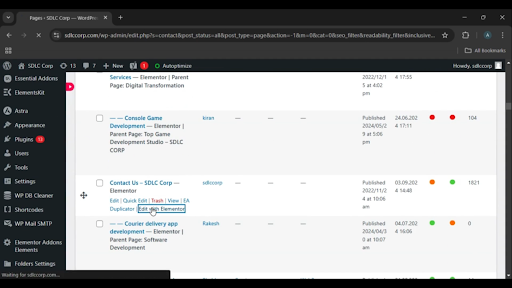
Get a closer look – Here’s the feature at work.
Custom WordPress Development Services
Tailored solutions for your business needs.

4. Drag and Drop the Google Map Widget
In the Elementor editor, search for the Google Map widget in the elements panel. Drag and drop it into the desired section of your page.
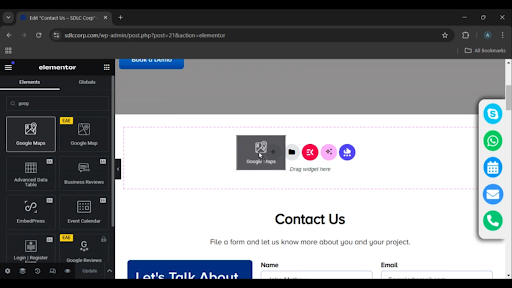
Get a closer look – Here’s the feature at work.
5. Click on the Update Button
After adjusting the map settings (like location, zoom, etc.), click the “Update” button to save your changes.
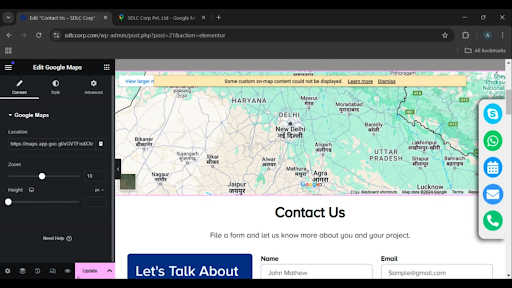
Get a closer look – Here’s the feature at work.

Conclusion
Adding Google Maps to your WordPress page with Elementor is a simple and efficient process. By leveraging Elementor’s drag-and-drop functionality, you can quickly integrate a map into your website to help visitors locate your business or event. Once updated, the map will appear seamlessly on your page, improving accessibility and user experience.


