Introduction
Post scheduling is a powerful feature that allows you to plan and publish content automatically on your WordPress website. Whether you’re managing a blog, an online store, or a business site, this feature helps you maintain a consistent publishing schedule, ensuring that your audience always receives fresh content. By using post scheduling effectively, you can focus more on growing your brand while WordPress handles your content delivery effortlessly. To fully leverage this feature, working with a professional WordPress development company can help ensure seamless setup and functionality tailored to your specific needs.
Expert WordPress Development Solutions
Elevate your website with our expertise.

Post Scheduling
Scheduling posts in WordPress is a powerful feature that allows you to plan and manage your content by automatically publishing it at a specific date and time. Whether you’re maintaining a consistent posting schedule or preparing content in advance, WordPress makes this easy. Here’s a quick guide on how to schedule your posts.
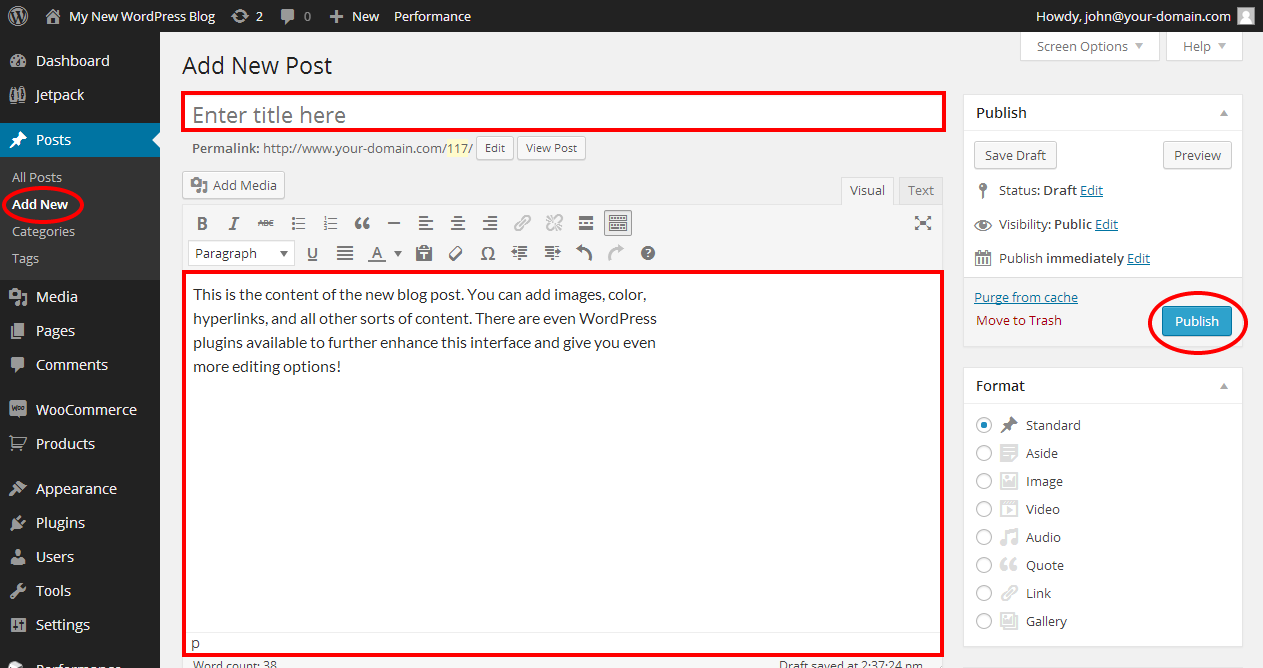
Step 1: Write Your Post
Start by writing your post as usual. You can add all the necessary content, including images, videos, and formatting.

Get a closer look – Here’s the feature at work.
Step 2: Set the Publish Date
Once your post is ready, look to the Publish panel on the right side of the editor. You’ll see an option labeled Publish Immediately. Click on the “Immediately” link, and a calendar will pop up.

Get a closer look – Here’s the feature at work.
Custom WordPress Development Services
Tailored solutions for your business needs.

Step 3: Choose the Date & Time
In the calendar, select the exact date and time when you want your post to be published. You can choose any future date and adjust the time down to the minute.

Get a closer look – Here’s the feature at work.
Step 4: Schedule the Post
After setting the date and time, the Publish button will change to Schedule. Click on it, and your post will be scheduled for future publication.

Get a closer look – Here’s the feature at work.
Step 5: Confirm Your Scheduled Post
Your post will now be set to go live automatically on the selected date and time. You can view and manage all your scheduled posts under the Posts section in the dashboard.
With these simple steps, you can efficiently schedule posts in WordPress and keep your blog content flowing consistently, even when you’re not around to hit “Publish.”

Get a closer look – Here’s the feature at work.

Conclusion
Using post scheduling in WordPress is a simple yet effective way to keep your content organized and your site active. By partnering with a reliable WordPress development company, you can ensure that your website is optimized to make the most of this and other essential features. If you want to take your website’s functionality to the next level, consider exploring WordPress development services. Ready to streamline your content strategy? It might be time to hire a WordPress developer to assist you with all the technical aspects, ensuring smooth and efficient website management.


