Introduction
Salesforce is more than just a CRM — it’s a platform built for scalability, automation, and integration. Whether you’re building custom apps or syncing data with third-party tools, understanding the Salesforce REST API opens up a powerful set of capabilities.
For beginners, the idea of working with APIs might feel overwhelming. But don’t worry — REST (short for Representational State Transfer) is one of the most accessible web service technologies, and Salesforce’s implementation of it is relatively intuitive once you get past the initial setup.
In this guide, we’ll walk through the Salesforce REST API step by step. You’ll learn what it is, how to configure it, and how to make real API calls. More importantly, we’ll keep things beginner-friendly, while still giving you hands-on examples and best practices that matter.
1. What Is REST API? (And Why It Matters in Salesforce)
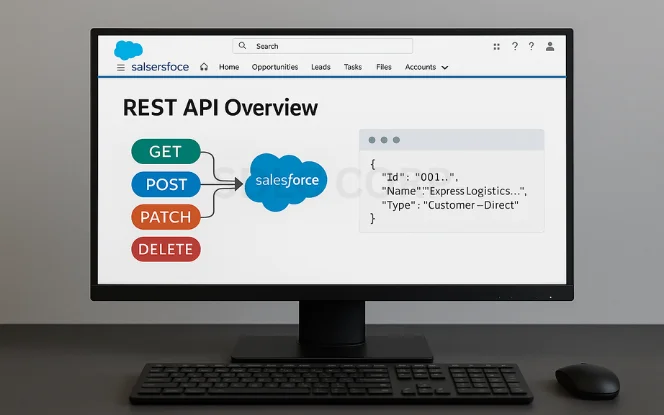
REST is a standard that allows software systems to communicate over HTTP using commands like GET, POST, PATCH, and DELETE. It’s widely used across modern web and mobile apps due to its simplicity and scalability.
In Salesforce, REST API enables developers to interact with CRM data programmatically. You can retrieve accounts, update contacts, or push leads into the system from external apps — all without logging into the Salesforce UI.
Unlike SOAP (another protocol Salesforce supports), REST works with JSON, making it easier to read, test, and work with in tools like Postman. REST is also faster and lighter, especially when used in real-time web or mobile apps.
2. Understanding Salesforce API Basics
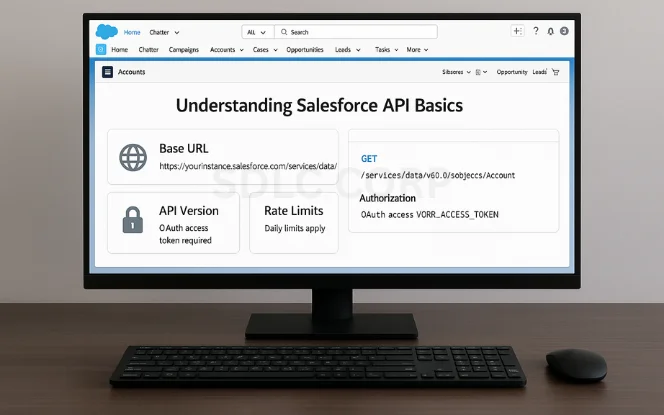
Before making your first request, you should understand some key elements:
- Base URL: Every API request starts with your Salesforce instance URL, followed by /services/data/.Example:
https://yourInstance.salesforce.com/services/data/v60.0/ - API Versioning: Salesforce versions its API. Always specify the latest version for new features.
- Authentication: You’ll need an OAuth access token to make calls. This requires setting up a connected app (more on that shortly).
Rate Limits: Salesforce enforces API usage limits per 24-hour period. Track usage via the Setup dashboard to avoid disruptions.
3. How to Set Up Salesforce for REST API Access
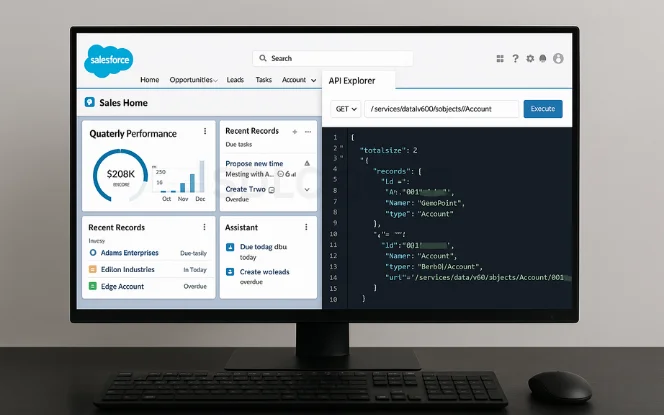
To connect with the Salesforce REST API, you must first configure your org:
Enable API Access
Most Salesforce editions (like Enterprise and Developer) come with API access enabled. If you’re using Professional Edition, contact Salesforce support.
Create a Connected App
This is your bridge between Salesforce and your external system.
Go to Setup → App Manager → New Connected App
Enable OAuth Settings
Enter a callback URL (can be temporary for testing, like
https://login.salesforce.com/services/oauth2/callback)Choose required OAuth Scopes (e.g.,
Access and manage your data,Perform requests on your behalf)Save and note down Consumer Key and Consumer Secret
4. Authentication: Get Your Access Token
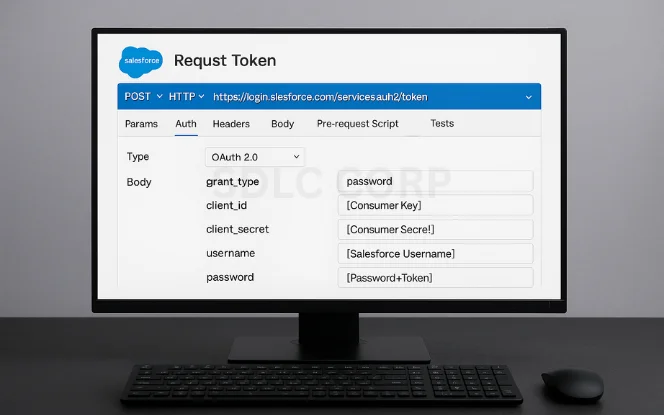
Salesforce uses OAuth 2.0 for secure token-based authentication.
Steps to Get Token:
Use Postman or cURL to make a POST request to:
https://login.salesforce.com/services/oauth2/tokenInclude these form-data/body params:
grant_type: passwordclient_id: <Consumer Key>client_secret: <Consumer Secret>username: <Salesforce Username>password: <YourPasswordWithSecurityToken>
Response Example:
					{
  "access_token": "xyz123abc...",
  "instance_url": "https://yourInstance.salesforce.com",
  "token_type": "Bearer"
}
You’ll use this access token in the Authorization header for your API requests.
5. Making Your First API Call
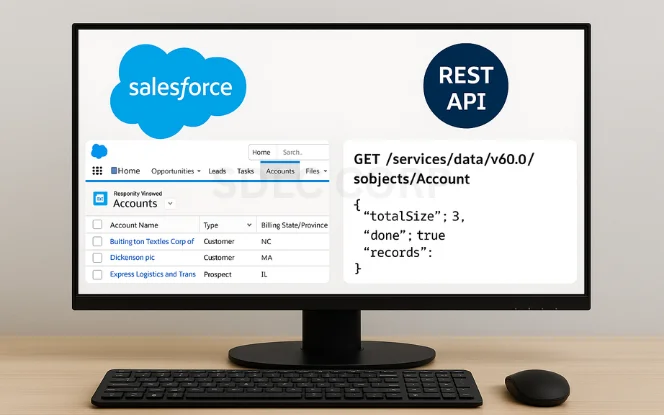
Let’s try a simple GET request to retrieve a list of Salesforce accounts.
GET Request Example:
					GET /services/data/v60.0/sobjects/Account
Host: yourInstance.salesforce.com
Authorization: Bearer YOUR_ACCESS_TOKEN
The response will be a JSON object listing the first few records, including Id, Name, and Type.
6. Common API Operations with Examples
Now that you’re authenticated, here are the most useful operations:
Create a Record (POST)
					POST /services/data/v60.0/sobjects/Contact
Content-Type: application/json
Authorization: Bearer TOKEN

{
  "FirstName": "John",
  "LastName": "Doe",
  "Email": "john@example.com"
}
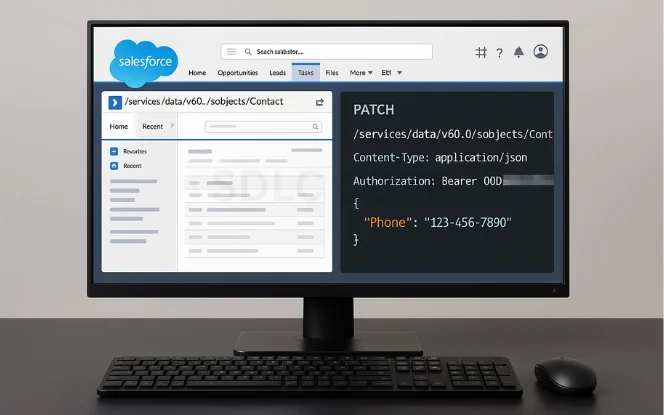
Update a Record (PATCH)
					PATCH /services/data/v60.0/sobjects/Contact/003XXXXXXXXXXXX
Content-Type: application/json
Authorization: Bearer TOKEN

{
  "Phone": "123-456-7890"
}
Delete a Record (DELETE)
					DELETE /services/data/v60.0/sobjects/Contact/003XXXXXXXXXXXX
Authorization: Bearer TOKEN
Query Records with SOQL
					GET /services/data/v60.0/query?q=SELECT+Id,Name+FROM+Account
Authorization: Bearer TOKEN
7.Best Practices for Beginners
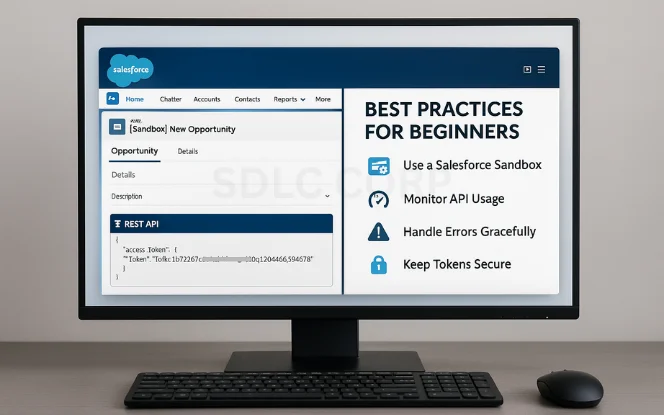
Use a Salesforce Sandbox: Always test integrations in a non-production environment.
Monitor Usage: Regularly check API call limits in Setup → Company Information.
Handle Errors Gracefully: Expect 401s, 403s, and 500s. Parse responses and log appropriately.
Use Retry Logic: For transient errors or rate limits, wait and retry with exponential backoff.
Keep Tokens Secure: Never expose tokens or client secrets in client-side code or version control.
8. Real-Life Examples & Use Cases
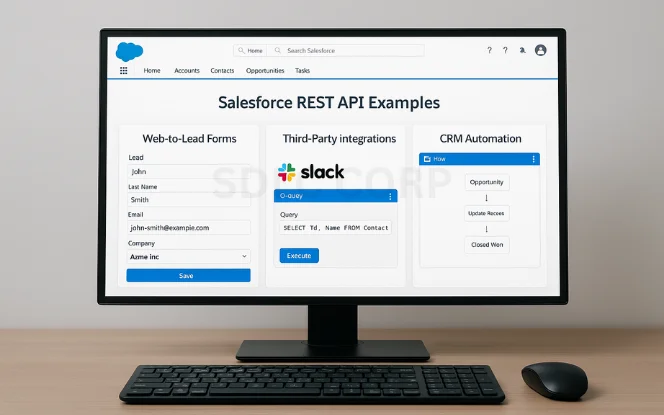
Web-to-Lead Forms: Capture user input and push it into Salesforce via API.
Third-Party Integrations: Connect Salesforce with apps like Slack, Gmail, or WhatsApp.
CRM Automation: Automatically update fields based on webhook events or server-side triggers.
These integrations help automate data flow, eliminate manual entry, and keep Salesforce as the single source of truth.
9. Conclusion
The Salesforce REST API offers a powerful way to interact with your CRM programmatically. Whether you’re a developer automating workflows or a beginner learning integrations, understanding how to authenticate, structure calls, and parse responses is essential.
Start small. Experiment using Postman or a sandbox. As you grow more confident, you can begin building production-grade automations and integrations that add serious value to your Salesforce environment.
FAQs
Is the Salesforce REST API free to use?
Yes. It’s included with most Salesforce editions, though usage is subject to API call limits.
How is REST different from SOAP?
REST is simpler and uses JSON, making it easier for beginners. SOAP is more complex and uses XML.
Do I need to code to use the REST API?
Some coding knowledge helps, especially if you’re building scripts or integrating with third-party systems. But tools like Postman let you test APIs without writing code.
Can I use REST API in a Salesforce Sandbox?
Absolutely. Testing in a sandbox is highly recommended before going live.
What is a Connected App?
It’s a secure app you register in Salesforce that allows external systems to authenticate and communicate via API.

