Introduction
In today’s visually-driven digital landscape, images are vital to engaging and retaining the attention of website visitors. For WordPress websites, integrating image tables can greatly enhance the user experience by offering a clear, organized display of visuals. Whether you’re running a blog, an e-commerce site, or a portfolio, a well-structured image table can make your content more appealing and accessible. If you’re looking to enhance your website with this feature, partnering with a professional WordPress development company is key. With expert WordPress development services, you can ensure the seamless integration of image tables into your site, improving both design and functionality.
Expert WordPress Development Solutions
Elevate your website with our expertise.

Plugin for Image Table
The Image Table plugin in WordPress allows you to create visually appealing tables filled with images, perfect for showcasing portfolios, products, or galleries in a clean, organized way. In this guide, I’ll walk you through the steps to easily set up an image table in just a few clicks.
Step 1: Install & Activate the Plugin
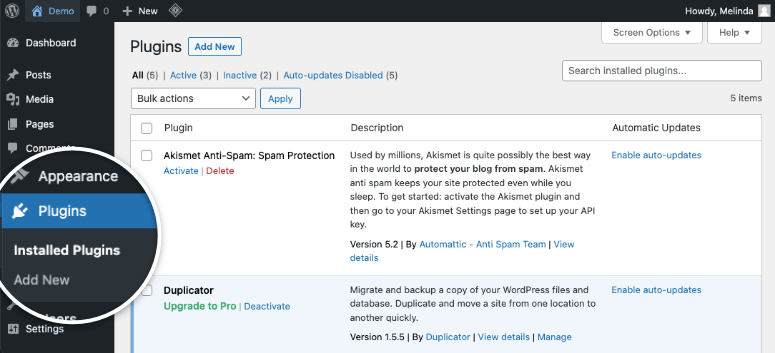
First, navigate to your WordPress dashboard. From there, go to Plugins > Add New, and in the search bar, type Image Table. Once you find it, click Install Now, then Activate.

Get a closer look – Here’s the feature at work.
Step 2: Create a New Image Table
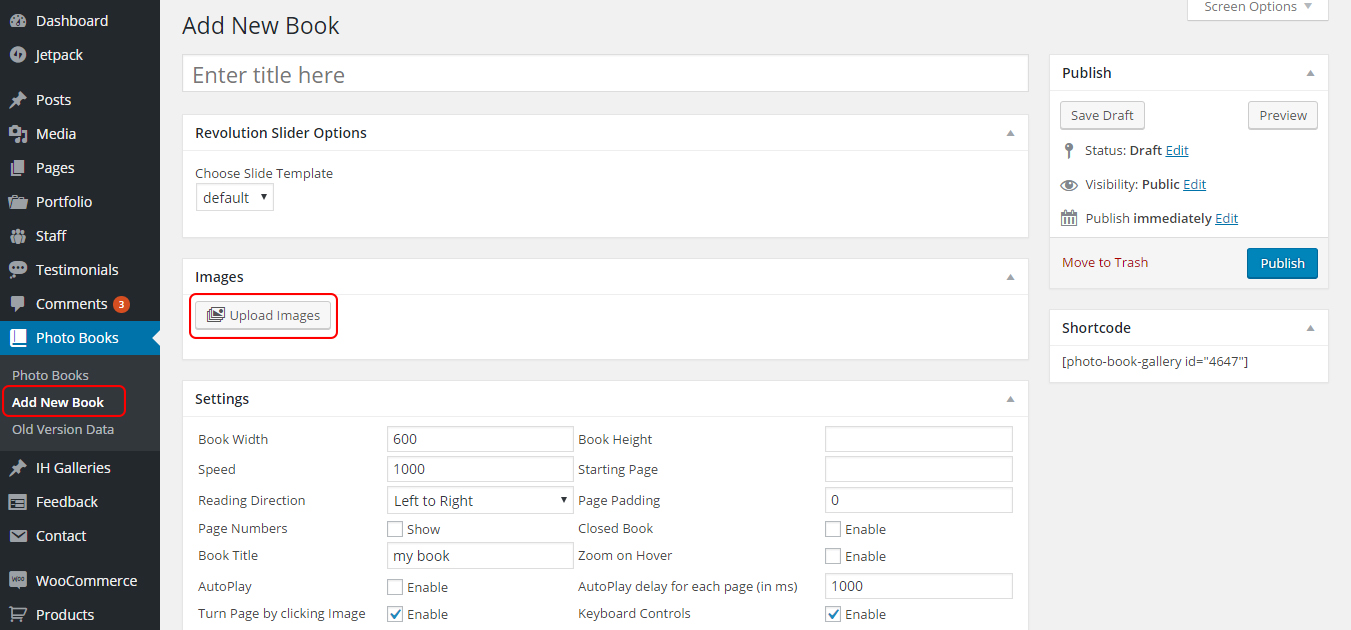
After activation, you’ll notice a new menu item labeled Image Tables. Click on it, and then select Add New Table. This will bring up a new interface where you can start building your image table.

Get a closer look – Here’s the feature at work.
Step 3: Add Images & Customize
Now, you can start inserting images into each table cell. The plugin allows you to adjust the number of rows and columns, giving you flexibility in the layout. You can also customize settings like borders, alignments, and captions.ng up a new interface where you can start building your image table.

Get a closer look – Here’s the feature at work.
Step 4: Insert into Your Post or Page
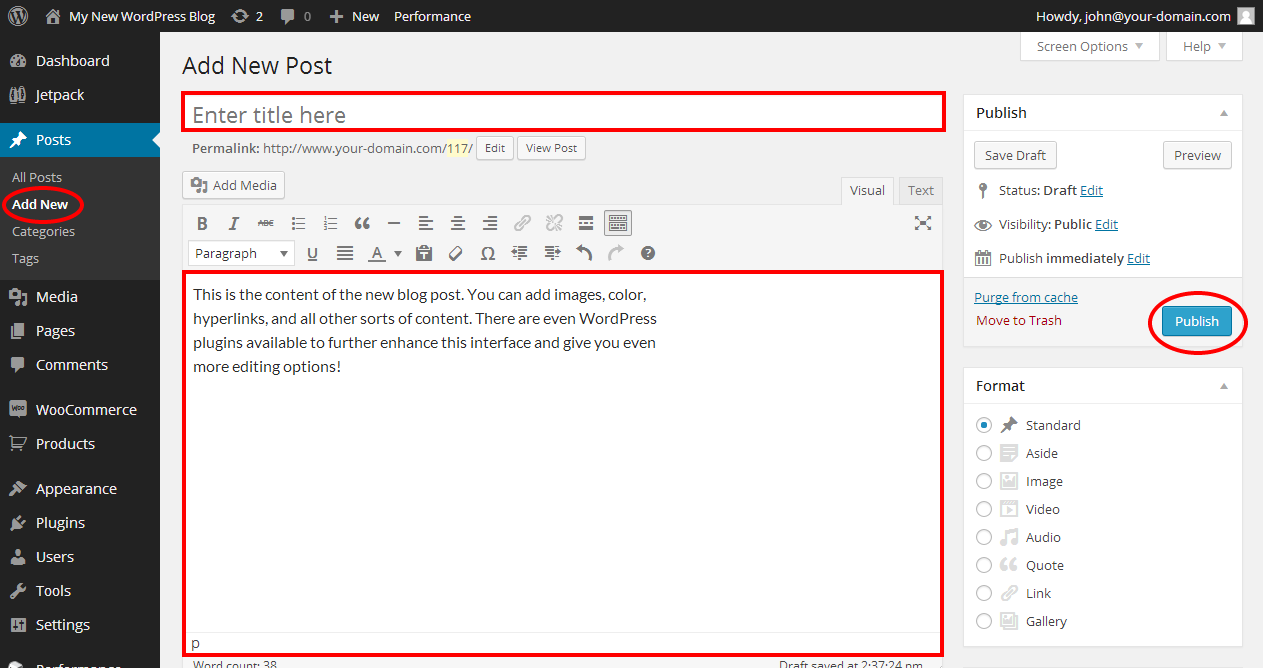
Once your table is ready, copy the generated shortcode. Head over to the post or page where you want to display the image table, and simply paste the shortcode into the content editor.

Get a closer look – Here’s the feature at work.
Step 5: Publish and View
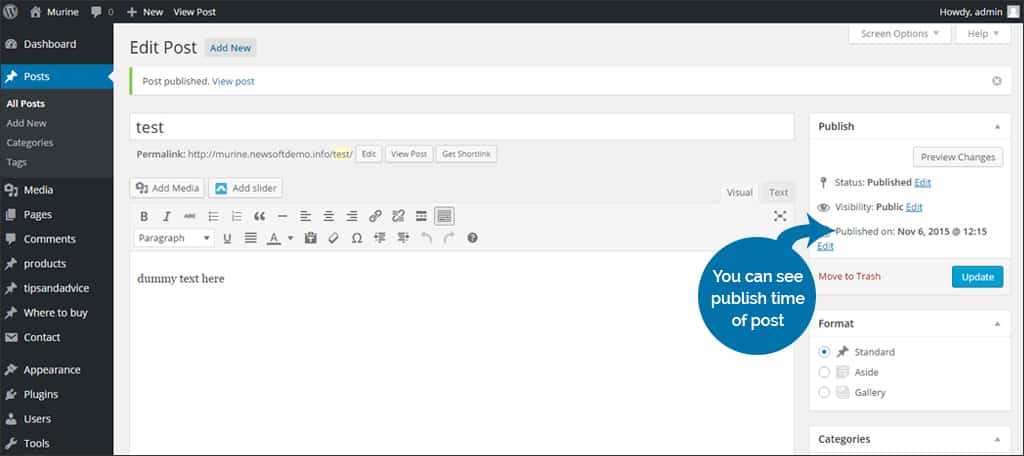
After inserting the shortcode, hit Publish or Update on your post/page. You can now view your newly created image table live on your website!
With these simple steps, you can add beautiful image tables to your WordPress site in no time!

Get a closer look – Here’s the feature at work.


