
United States:
Transform Digital LLC
44 Montgomery Street, Suite 300
San Francisco, CA 94104


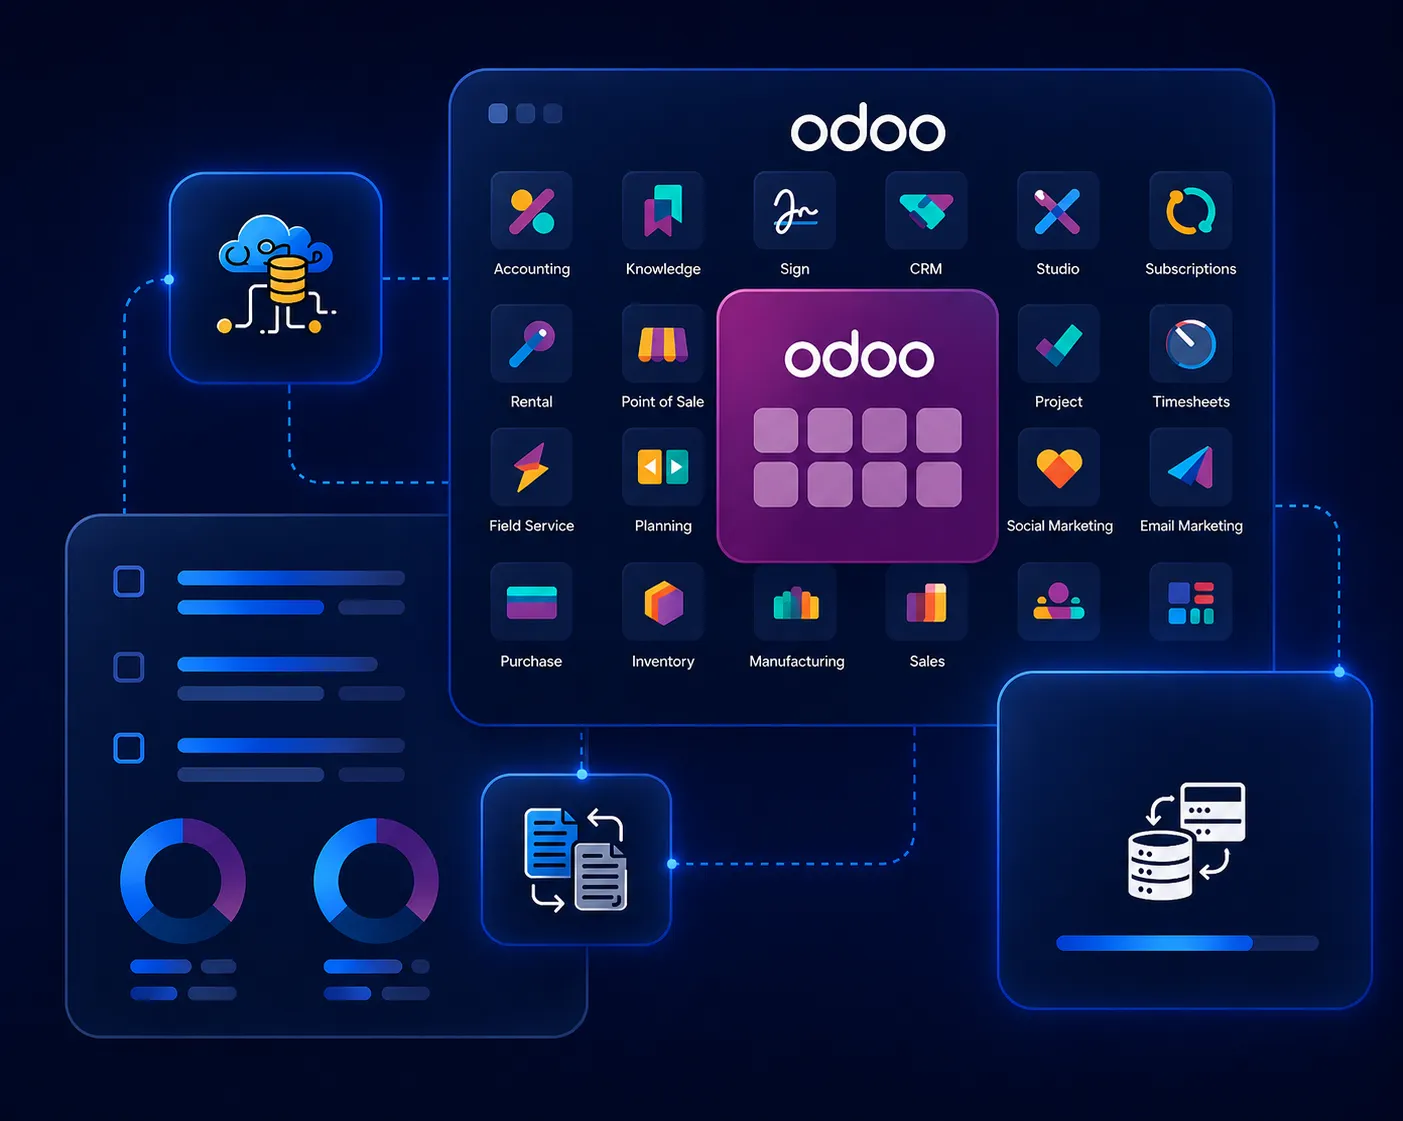
SDLC Corp helps businesses customize, extend, and scale Odoo with clean modules, tested workflows, sprint-based delivery, and documented handover.
Technical support for Odoo modules, workflows, custom apps, reporting, automation, and version upgrades.
We build version-safe Python modules, clean extensions, dashboards, portals, and admin-ready workflows.
Our team supports issue checks, fixes, workflow changes, patches, and upgrade assistance after launch.

If any of these match your situation, custom Odoo development is the right path.
Your team uses Odoo, but the default workflow does not match your process.
You need approval flows, validations, reports, or dashboards that Odoo does not provide out of the box.
You need custom modules instead of risky manual workarounds.
You need API hooks or data sync logic inside a custom Odoo workflow.
You need version-safe extensions that your team can maintain later.
Proven outcomes from SDLC Corp's Odoo engagements, from custom module builds to full-scale multi-country ERP rollouts.

SDLC Corp helped Apex Shoes connect wholesale and retail operations inside Odoo, improving order management, inventory visibility, payment workflows, and back-office control.
See how Apex Shoes scaled production with custom Odoo modules
SDLC Corp customized Odoo for manufacturing workflows, including production tracking, inventory control, reporting, quality checks, and supply-chain coordination.
See how custom Odoo workflows fixed the manufacturing process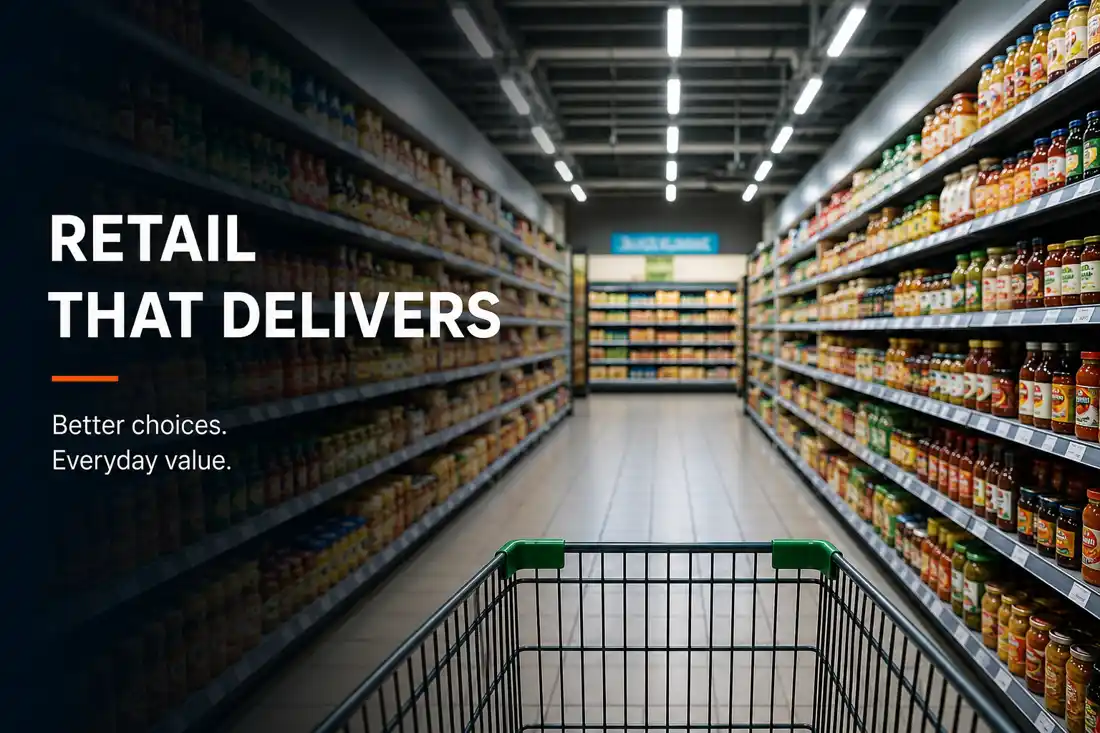
SDLC Corp customized Odoo for a retail business to improve inventory accuracy, POS workflows, delivery handling, store visibility, and sales-return processes.
See how a retail chain improved inventory with custom Odoo
SDLC Corp built a custom Shopify-Odoo connector to sync products, orders, customers, inventory, and pricing in near real-time for streamlined ecommerce operations.
See how the Shopify-Odoo connector synced 12,000+ ordersShare your Odoo workflows, module requirements, integration needs, and customization goals. Our team will help define the right development scope for your business operations.
Discuss Your Odoo Project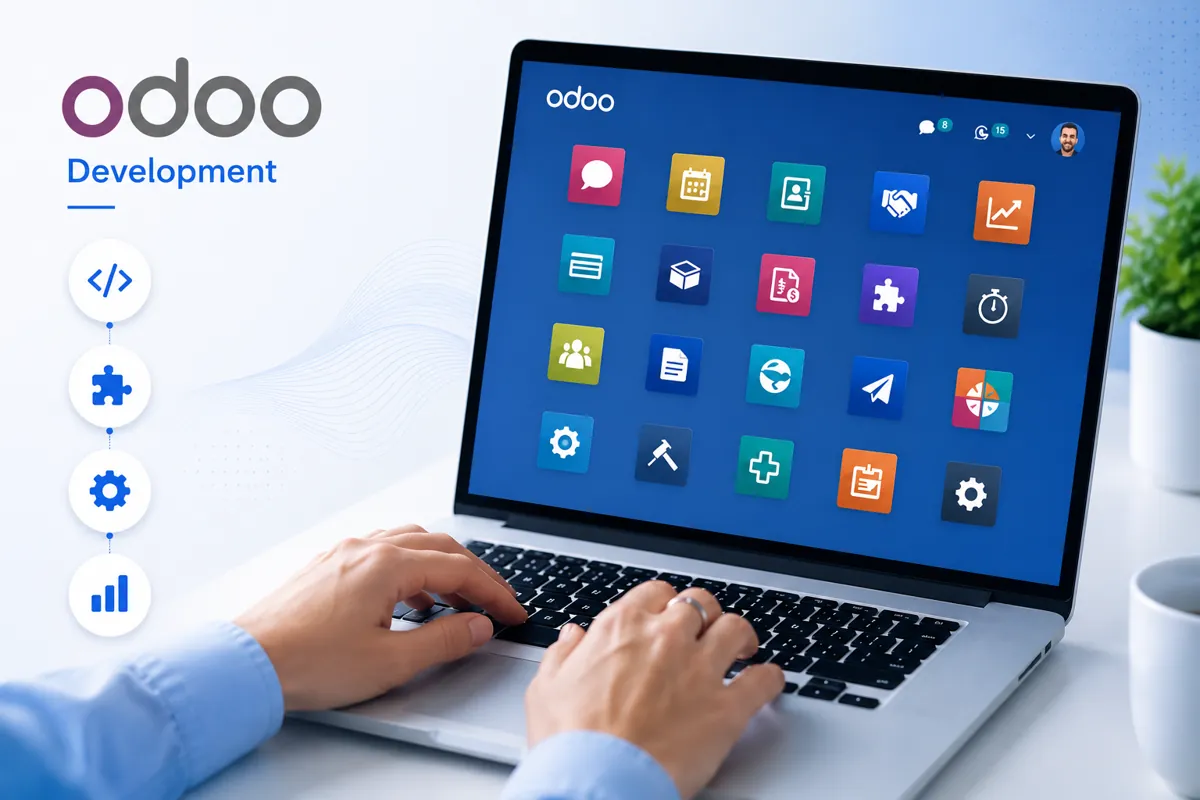

United States:
Transform Digital LLC
44 Montgomery Street, Suite 300
San Francisco, CA 94104

United Kingdom:
30 Charter Avenue, Coventry
CV4 8GE Post code: CV4 8GF United Kingdom

United Arab Emirates:
Unit No: 729, DMCC Business Centre Level No 1, Jewellery & Gemplex 3 Dubai, United Arab Emirates

India:
715, Astralis, Supernova, Sector 94 Noida, Delhi NCR India. 201301

Qatar:
B-ring road zone 25, Bin Dirham Plaza building 113, Street 220, 5th floor office 510 Doha, Qatar